
Hunter's Star Quilt Block - Quick & Easy Tutorial

Two Methods for Oversized Flying Geese Including Cutting Charts – Tutorial is a comprehensive guide for quilters who want to master the art of creating oversized flying geese units efficiently and accurately.
Whether you are a beginner or an experienced quilter, understanding these methods can save you time, reduce fabric waste, and ensure precision in your quilt designs.
In this tutorial, we will explore step-by-step instructions, share helpful cutting charts, and provide tips to improve your quilting workflow.
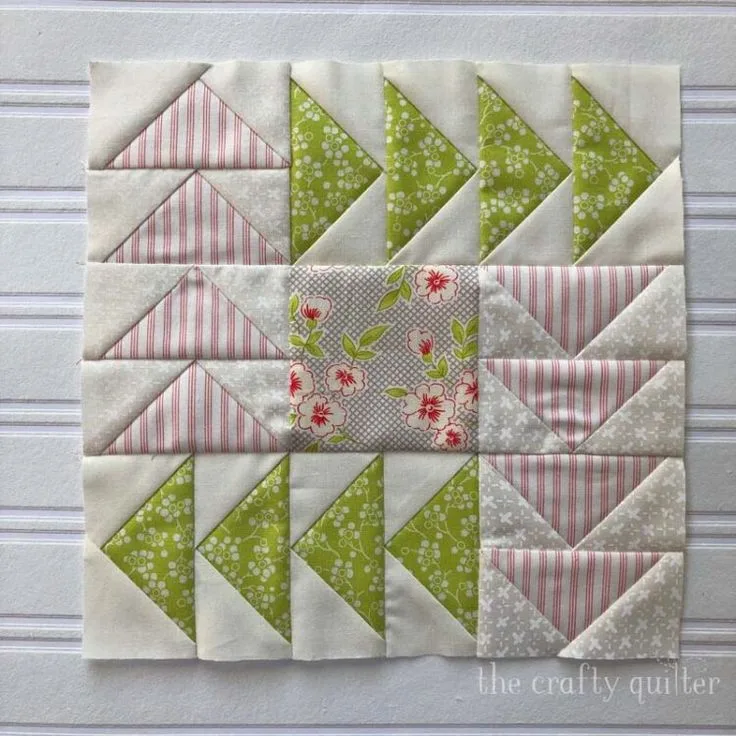
Flying geese units are a fundamental component in many quilt patterns. They are versatile, visually striking, and can be used to create borders, star blocks, or even modern quilt layouts.
However, working with oversized flying geese can sometimes feel daunting, especially if you want to maintain accuracy without spending hours trimming or resewing pieces. Fortunately, with the right techniques and proper cutting charts, creating large flying geese units can be straightforward and enjoyable.
In this article, we will cover two proven methods for oversized flying geese, explain the terminology, share cutting charts for efficiency, and offer practical tips to make your quilting projects more precise. By the end of this guide, you will feel confident incorporating these techniques into your next quilt project, whether it’s a traditional design or a modern, oversized layout.
The first approach for oversized flying geese is the traditional method, which involves sewing triangles to a rectangle. This method is widely recognized and is ideal for quilters who enjoy working with precise measurements and cutting charts.
The traditional method begins by cutting a large rectangle for the background and two smaller triangles for the wings. It is essential to follow cutting charts carefully to ensure that your pieces fit together without gaps or overlaps. Using this method, you can create oversized flying geese units in sizes ranging from 4 inches to over 12 inches, depending on your quilt design.
Accuracy is critical when using the traditional method. Pressing seams open or to one side can affect the overall alignment of the flying geese. Using a ruler and rotary cutter to trim the units after sewing can help maintain uniformity, especially for large quilts. This ensures that your oversized flying geese units remain consistent across the project.
One significant advantage of the traditional method is its versatility. You can adjust the size of the triangles and rectangles to create different looks within the same quilt. This allows for creative freedom while still relying on a method that has been tried and tested by generations of quilters.
Additionally, traditional oversized flying geese work well with a variety of fabrics. Using high-quality quilting cotton ensures that the units hold their shape and that the seams lie flat, which is particularly important for large-scale designs. The traditional method also accommodates color and pattern placement, allowing you to make visually appealing blocks.
Finally, using cutting charts with the traditional method reduces the need for guesswork. Knowing exactly how large to cut your rectangles and triangles saves time and fabric. By carefully planning your cuts, you can avoid common mistakes, such as ending up with units that are too small or uneven.
The second method for creating oversized flying geese units is the no-waste method. This technique is particularly popular among quilters who want to minimize fabric waste while achieving accurate results. The no-waste method uses squares instead of triangles, cutting them in a way that forms multiple flying geese units at once.
The process begins by cutting squares for the geese and background, then marking the diagonal lines where the seams will be sewn. This method allows you to produce two or more flying geese units from a single square combination, making it extremely efficient. It’s perfect for large projects where fabric conservation is important.
One of the benefits of the no-waste method is speed. Since multiple units can be cut and sewn simultaneously, you can complete larger quilt sections in a fraction of the time compared to traditional methods. This makes it ideal for quilters who enjoy creating oversized flying geese for big quilts or wall hangings.
The no-waste method also reduces the need for trimming. Because the units are cut and sewn strategically, they are more likely to be the exact size you need right out of the sewing machine. This results in less frustration and more consistent results, especially when working with large units.
Using cutting charts is essential for the no-waste method. Charts show the correct sizes for the squares, the diagonal seam lines, and the final unit dimensions. By following the chart, quilters can achieve perfectly proportioned oversized flying geese units with minimal adjustments.
Lastly, the no-waste method allows for creative experimentation. You can mix fabrics, add textures, or play with colors while still maintaining accuracy. This method gives you the flexibility to design intricate patterns without worrying about wasting fabric or misaligning your units.
Cutting charts are an invaluable tool for creating oversized flying geese units. They simplify the planning process, reduce fabric waste, and ensure accuracy across all units. Charts typically include measurements for rectangles, triangles, or squares depending on the method you are using.
For the traditional method, a cutting chart will list the rectangle width and height and the triangle base and height. For example, to make a 6-inch finished flying geese unit, your chart might specify a 3-inch by 6.5-inch rectangle and two 3.5-inch squares cut diagonally into triangles. Following these charts eliminates guesswork.
For the no-waste method, cutting charts focus on square sizes. These charts indicate the dimensions of the geese square and the background square, plus the diagonal seam placement. Using these charts ensures that all your units are uniform and fit together perfectly in the quilt layout.
Cutting charts also help with fabric planning. By knowing exactly how much fabric is required for each piece, you can purchase the correct amount without overspending or running short. This is especially important for large quilts that use oversized flying geese units.
Additionally, cutting charts make it easier to teach or follow tutorials. Whether you are learning from a video, book, or online resource, having a chart as a reference keeps the process organized and stress-free.
Using charts consistently builds confidence and accuracy. Quilters who rely on cutting charts are less likely to make mistakes, ensuring that each flying geese unit is precise and professional-looking. This is crucial for maintaining the aesthetic appeal of your quilt, particularly when working with large, visually prominent units.
Creating oversized flying geese units requires attention to detail and a few helpful tips. First, always use a sharp rotary cutter and a quality ruler to cut your fabric. Precise cuts are the foundation for accurate flying geese units.
Second, consider your pressing technique. Press seams either open or to one side consistently. Inconsistent pressing can lead to bulky seams, which affect the overall appearance of your quilt.
Third, chain piecing is a time-saving technique. By sewing multiple pieces continuously without cutting the thread, you can assemble your oversized flying geese units faster while maintaining accuracy.
Fourth, trimming is essential. Even when using no-waste methods, lightly trimming units to the correct size ensures consistency across your quilt. This is especially important for larger units that form the central focus of a quilt block.
Fifth, fabric choice impacts the final look. High-quality quilting cotton with a tight weave produces crisp points and smooth seams. Avoid using fabrics that stretch, as this can distort your units.
Finally, practice patience. Oversized flying geese can be intimidating, but with careful planning, cutting charts, and consistent technique, you will achieve beautiful results every time. The effort you put in at this stage pays off in a professional-looking quilt.
Q1: What are oversized flying geese units?
A1: Oversized flying geese units are larger-than-standard quilt pieces shaped like triangles on a rectangle, often used in quilt borders, star blocks, or modern designs.
Q2: Which method is better, traditional or no-waste?
A2: Both methods work well. The traditional method is precise and versatile, while the no-waste method saves fabric and speeds up production. Your choice depends on your project needs.
Q3: Can I use any fabric for oversized flying geese?
A3: High-quality quilting cotton is recommended. Avoid stretchy or loosely woven fabrics, as they can distort your units.
Q4: Are cutting charts necessary?
A4: Yes. Cutting charts ensure accuracy, reduce fabric waste, and help maintain uniform unit sizes, which is crucial for large quilts.
Q5: How do I avoid bulky seams?
A5: Press seams consistently—either open or to one side—and trim units carefully. Using a good pressing technique keeps the quilt flat and professional-looking.
Q6: Can oversized flying geese be used in modern quilts?
A6: Absolutely. Their large size and geometric shape make them ideal for modern designs, providing bold, graphic elements in any quilt layout.
In this Two Methods for Oversized Flying Geese Including Cutting Charts – Tutorial, we explored the traditional and no-waste methods for creating large flying geese units, explained the importance of cutting charts, and shared essential tips for precision and fabric efficiency. Both methods are valuable, and using cutting charts ensures that your units are accurate, visually appealing, and consistent. By following these techniques, quilters can confidently create oversized flying geese units that enhance any quilt design.
We hope this tutorial helps you tackle your next quilt project with ease. Share your honest opinions and suggestions in the comments to help other quilters improve their skills and inspire even more creativity!


