
Hunter's Star Quilt Block - Quick & Easy Tutorial

The Twisted Quilt Block – Tutorial is a perfect guide for quilters looking to create a striking and dynamic quilt design. Known for its illusion of motion and interlocking shapes, the twisted block combines traditional quilting techniques with a modern aesthetic.
This pattern can serve as a centerpiece or be repeated to form a larger quilt, making it highly versatile for various projects. Following this tutorial, you’ll learn step by step how to choose fabrics, cut pieces, assemble blocks, and finish your quilt with professional results.
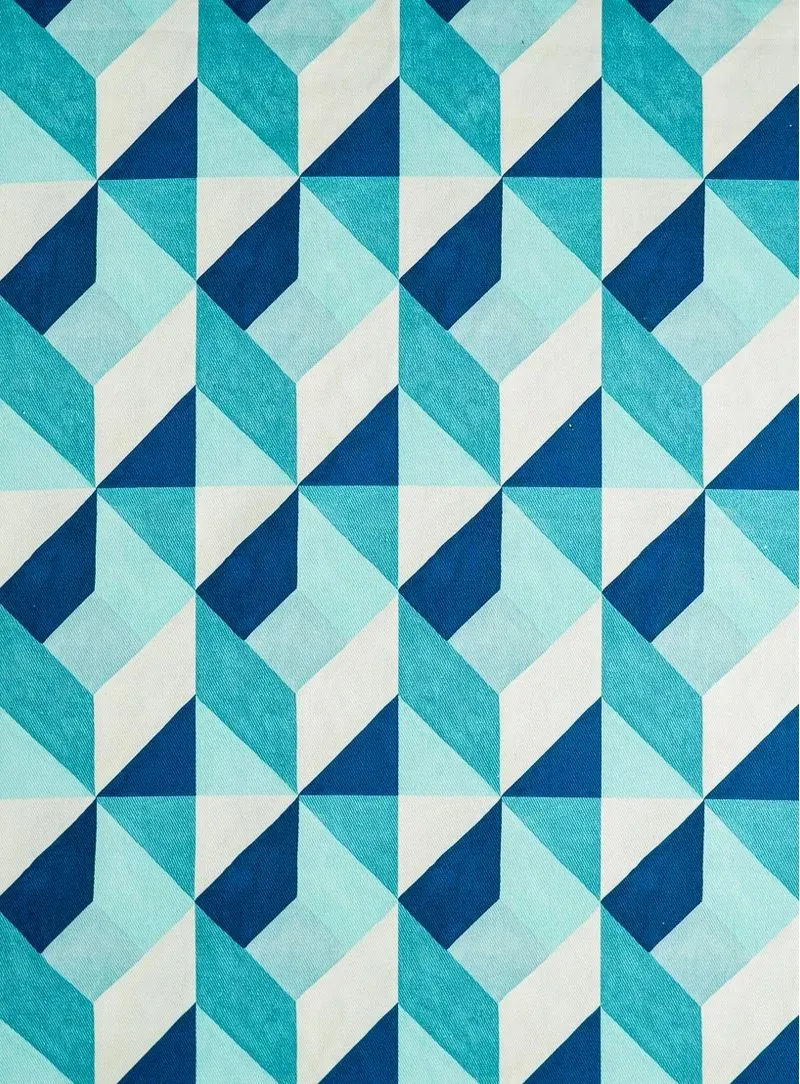
Starting a Twisted Quilt Block – Tutorial project is a rewarding experience. Each block is composed of strips arranged in a specific order, creating a “twisted” visual effect that captivates the eye.
Choosing the right fabrics enhances the illusion, while precise cutting and sewing ensure clean lines. This tutorial is designed for quilters of all skill levels, from beginners to advanced, with clear explanations to help you master each stage.
The Twisted Quilt Block – Tutorial not only results in a visually appealing quilt but also provides an opportunity to develop precision, patience, and creativity. Whether you are making a wall hanging, bed quilt, or table runner, this pattern adds a dynamic and professional touch to your project.
Selecting fabrics is the first step in this Twisted Quilt Block – Tutorial. A successful quilt relies on contrast and color balance. Typically, two or three contrasting tones are used per block to create the twisting effect. Light, medium, and dark fabrics work best together to enhance depth and movement.
Cotton fabrics are recommended due to their ease of handling, durability, and smooth finish. Pre-wash your fabrics to prevent shrinkage and remove excess dye. Mixing solids with small prints can add texture without overwhelming the block’s visual twist.
Consider the overall look of your quilt when selecting fabrics. For a traditional style, opt for muted or classic tones. For a modern approach, bold or monochromatic combinations can highlight the twisted effect more dramatically.
Take your time arranging fabric swatches before cutting. Place them side by side to visualize the contrast and flow across multiple blocks. This planning stage is crucial for achieving a cohesive quilt with the Twisted Quilt Block – Tutorial.
If desired, add specialty fabrics such as metallic accents or textured cottons to create unique focal points. These subtle touches enhance the dimension of each block and elevate the final design.
Finally, ensure you have enough fabric for all blocks, backing, and binding. Having extra material allows for mistakes or adjustments during assembly, ensuring a smooth quilting process.
Precise cutting is essential in the Twisted Quilt Block – Tutorial to maintain clean lines and a polished look. Start by pressing your fabrics to remove wrinkles. Use a rotary cutter, ruler, and cutting mat to ensure accuracy.
Each block typically contains strips of varying lengths arranged to form the twisted illusion. Measure and cut carefully, following the tutorial’s dimensions for uniformity. Consistency in strip width and length is critical to achieving the desired effect.
Label your cut pieces to avoid confusion during assembly. Group them by color and size, which helps streamline the sewing process and reduces mistakes.
Trimming corners and edges as recommended ensures neat joins and avoids bulk at intersections. This step contributes to the professional appearance of your Twisted Quilt Block – Tutorial.
If making multiple blocks, consider stacking pieces and cutting several at once to save time. This technique also ensures consistent sizing across all blocks.
Finally, keep all cut pieces organized and protected from dust or stretching while you prepare to assemble your quilt blocks. Organization is key to a smooth and enjoyable quilting experience.
To assemble your Twisted Quilt Block – Tutorial, start by sewing the strips together according to the color sequence. Press seams toward darker fabrics to maintain a flat block and emphasize the twisting effect.
Align pieces carefully at each intersection to ensure the twist appears seamless. Pin or clip fabric edges to avoid shifting during sewing. Accuracy at this stage significantly affects the overall look of the block.
Repeat the process for all blocks, maintaining the same color sequence and strip arrangement for a uniform pattern across your quilt. If desired, alternate the orientation of blocks to create dynamic visual movement.
Once all blocks are sewn, press them thoroughly to remove wrinkles and flatten seams. This makes assembly into rows or larger quilt sections easier.
Lay out your blocks on a flat surface or design wall to preview the full quilt arrangement. Adjust placement as needed to ensure balanced color flow and visual continuity.
Finally, sew blocks together into rows, then join rows carefully. Matching seams enhances the twisted illusion and provides a crisp, professional finish to the Twisted Quilt Block – Tutorial.
Quilting adds dimension and texture to your Twisted Quilt Block – Tutorial, bringing the design to life. Choose quilting patterns that complement the twist, such as diagonal lines, curves, or feather motifs.
Layer the quilt top with batting and backing, smoothing out wrinkles. Pin or baste to prevent shifting during quilting. Cotton or bamboo batting provides a soft drape while maintaining structure.
After quilting, trim excess fabric and batting, then prepare the binding. Select a coordinating fabric to finish the edges, folding corners neatly for a polished look.
Topstitching along the edges or seams adds durability and a professional touch, ensuring the quilt maintains its shape over time.
Press the completed quilt to remove residual wrinkles and set the stitching. The final result should display the twisting effect prominently, showcasing your precision and creativity.
Label your quilt with your name, date, and project title to document your craftsmanship. This makes the quilt a personal keepsake and a testament to your skill.
The Twisted Quilt Block – Tutorial can be customized in numerous ways. Experiment with color palettes, using vibrant contrasts or soft harmonies, to achieve different moods and effects.
Adjust block size to create quilts of various dimensions, from small wall hangings to full-sized bed quilts. Rotating or alternating block orientation enhances the dynamic visual effect of the twist.
Consider adding appliqué, embroidery, or decorative stitching for a unique touch. These embellishments can complement the block’s movement and personalize your quilt.
Combining multiple quilting techniques, such as straight-line and free-motion quilting, adds depth and texture to your project. Specialty fabrics like metallics or textured cottons can also elevate the design.
You can create themed quilts by choosing fabrics that reflect seasons, holidays, or personal interests. The Twisted Quilt Block – Tutorial adapts beautifully to any theme.
Lastly, use the pattern for collaborative projects, where multiple quilters create individual blocks. Assembling them together forms a community quilt with a rich variety of textures and colors.
1. Is the Twisted Quilt Block suitable for beginners?
Yes, beginners can follow this tutorial with patience, though some precision is required for cutting and sewing strips.
2. What fabrics work best?
Cotton fabrics in light, medium, and dark shades are ideal. Mixing prints and solids adds visual interest.
3. How large should blocks be?
Standard block sizes are 12 inches, but you can adjust depending on your quilt’s intended size.
4. Can I use pre-cut fabric strips?
Yes, jelly rolls or fat quarters can simplify the cutting process.
5. What quilting techniques complement this block?
Diagonal, curve, or feather quilting patterns enhance the twist effect.
6. How do I maintain the twisted illusion?
Careful color placement, consistent strip widths, and precise sewing ensure the illusion remains clear.
7. Can this pattern be adapted for smaller projects?
Yes, you can make table runners, wall hangings, or pillows using the same block concept.
The Twisted Quilt Block – Tutorial is an engaging and visually striking pattern that enhances any quilting project. By carefully selecting fabrics, cutting accurately, and assembling precisely, you create blocks that convey movement and depth. Quilting and finishing techniques complete the professional look, while creative variations allow endless personalization.
Creating this quilt block not only improves sewing skills but also results in a beautiful, functional piece. Whether you use it for personal enjoyment, gifts, or home décor, the Twisted Quilt Block – Tutorial offers endless satisfaction and artistic expression. Share your experiences and suggestions to inspire other quilters and keep the craft vibrant.


