
Hunter's Star Quilt Block - Quick & Easy Tutorial

The term “Foot Mat – Step by Step” refers to more than just a simple household item; it represents a blend of practicality, hygiene, and interior style that we use every day.
A foot mat might seem like an insignificant part of your home, but it plays a crucial role in maintaining cleanliness, preventing accidents, and adding decorative charm.
Understanding how to choose, maintain, and even make your own foot mat step by step can transform your living space in simple yet impactful ways.
Before diving into the details, it’s essential to recognize how a well-chosen foot mat contributes to both comfort and safety.
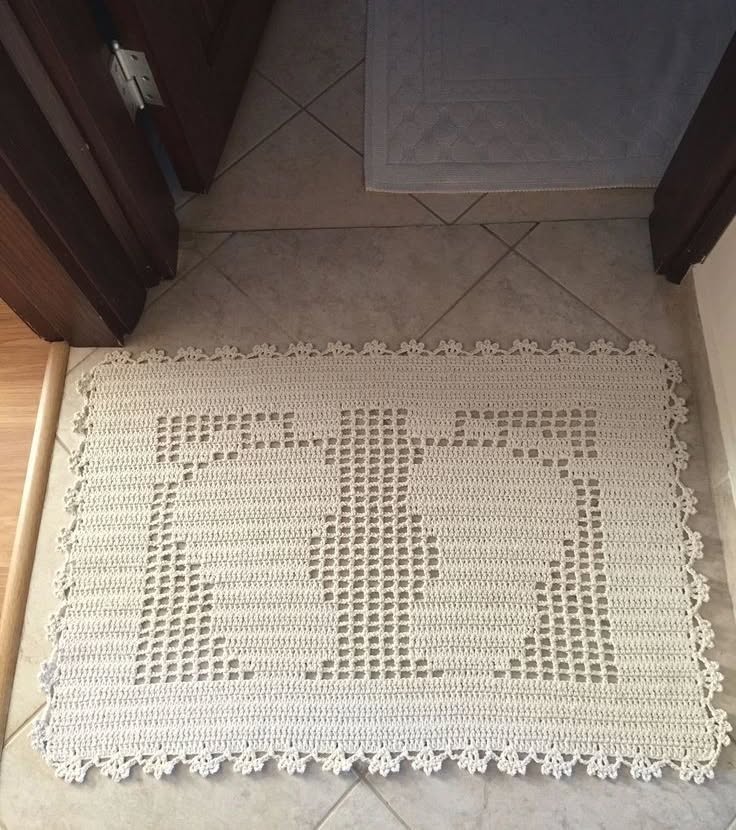
Whether you place it at your doorstep, bathroom, kitchen, or car, a foot mat acts as a protective layer between your feet and the floor. It absorbs moisture, traps dirt, and provides traction that prevents slips and falls. Beyond function, the design and material of a mat can enhance your home’s aesthetic appeal, tying together your décor in a subtle but powerful way.
In this guide, we’ll explore step-by-step methods for selecting the right type of foot mat, caring for it properly, and even crafting one yourself if you enjoy creative projects. You’ll also learn about the different materials available, the best practices for cleaning, and how to keep your mats durable and fresh. Let’s begin this comprehensive journey through everything you need to know about foot mats – step by step.
When thinking about foot mats, most people imagine something simple placed near the entrance. However, the purpose of a foot mat extends far beyond just welcoming guests. The first reason for having a good mat is hygiene. It prevents outside dust, mud, and bacteria from spreading across your floors, maintaining a cleaner and healthier home environment.
Another important aspect is safety. Mats with non-slip backing reduce the chances of falls, especially in wet areas like bathrooms or kitchens. They provide stability underfoot, which is particularly useful for elderly people or children who are more vulnerable to slipping. Investing in a high-quality foot mat means you’re not only protecting your home but also those who live in it.
Moreover, aesthetic value is a major factor. A mat can complement your décor, adding color, texture, and warmth. From elegant woven designs to modern rubber patterns, the right choice of foot mat can make your space look more inviting.
Another reason to consider is comfort. Soft, cushioned mats make it easier to stand for long periods — perfect for kitchens or workplaces where you’re often on your feet. Memory foam or fabric mats can significantly reduce strain and fatigue.
Additionally, mats can protect your flooring from scratches and water damage, extending the life of your tiles, wood, or laminate.
Finally, they serve as a simple but effective way to express personal style. Whether you prefer minimalist looks or colorful prints, the foot mat can reflect your personality while performing its essential functions.
Selecting the perfect foot mat involves more than just picking the first one that looks nice. Here’s a step-by-step process to help you make the best decision.
Step 1: Define the Purpose.
Before purchasing, decide where you’ll place the mat. Do you need one for the entrance, kitchen, bathroom, or car? Each location requires a different type of material and texture to perform effectively.
Step 2: Choose the Material.
The most common foot mat materials include coir (natural coconut fiber), rubber, microfiber, cotton, and PVC. Coir mats are durable and ideal for outdoor entrances, while microfiber mats excel at absorbing water in bathrooms. Rubber mats are perfect for wet or industrial areas, as they resist slipping and are easy to clean.
Step 3: Consider the Size and Shape.
Measure the space carefully. A mat that’s too small won’t capture enough dirt or water, while one that’s too large may look awkward. Rectangular mats are classic, but round or irregular shapes can add a unique touch.
Step 4: Look for Non-Slip Features.
Ensure the mat has a non-slip backing, especially if you plan to use it on smooth surfaces like tiles. This is one of the most important safety features of any foot mat.
Step 5: Focus on Maintenance.
Choose a mat that’s easy to wash or shake clean. Some mats can be machine-washed, while others require hand cleaning or vacuuming. The easier it is to maintain, the longer it will last.
Step 6: Match the Style.
Lastly, match the design to your home’s overall theme. Whether modern, rustic, or minimalist, your foot mat should complement your space rather than clash with it.
Following these steps ensures that you find a foot mat that meets your functional needs while enhancing the visual appeal of your home.
Cleaning and maintaining your foot mat regularly will ensure its longevity and effectiveness. Over time, mats accumulate dust, dirt, and moisture that can reduce their grip and cleanliness. Here’s how to handle it properly.
Start by shaking the mat outdoors to remove loose particles. This should be done weekly or more frequently in high-traffic areas. It’s a quick and easy way to keep your mat fresh.
Next, vacuum the surface to remove embedded dirt. For mats with thicker fibers, use a brush attachment to reach deep into the material. This prevents buildup that could lead to bad odors or mold.
For fabric or microfiber mats, wash them using mild detergent and cold water. Avoid bleach or harsh chemicals, as they can damage the fibers. Let the mat air dry completely before placing it back — moisture trapped underneath can lead to mildew.
Rubber or plastic mats should be scrubbed using a soft brush and soapy water. Rinse thoroughly and let them dry in the sun to eliminate bacteria.
You can also deodorize mats naturally using baking soda. Sprinkle it on, let it sit for a few hours, then vacuum it off. This helps neutralize any unpleasant smells.
Finally, inspect your mats regularly for wear and tear. If the edges begin to curl or the surface loses grip, it’s time to replace them. A worn-out foot mat may no longer serve its safety purpose effectively.
Creating your own DIY foot mat can be both fun and rewarding. It allows you to customize the size, material, and design to suit your space perfectly. Here’s a simple step-by-step guide.
Step 1: Gather Materials.
You’ll need a non-slip base (like rubber backing), fabric strips or ropes, scissors, glue, and optional paint for decoration.
Step 2: Design the Layout.
Sketch your preferred design before starting. You can go for stripes, geometric patterns, or even spell out words for a personalized touch.
Step 3: Prepare the Fabric.
Cut old T-shirts, towels, or ropes into equal strips. This is an eco-friendly way to recycle old materials and reduce waste.
Step 4: Attach the Strips.
Glue or sew the strips onto the base in your desired pattern. Make sure each piece is tightly secured to prevent unraveling.
Step 5: Add Decorative Elements.
If you enjoy creativity, you can paint or stencil designs on top. This transforms a plain foot mat into a stylish accent piece for your entryway.
Step 6: Let It Dry and Test It.
Allow your mat to dry completely, then place it in the chosen area. Step on it to ensure it’s comfortable and slip-resistant.
This DIY project is not only practical but also a great way to express your creativity while saving money.
1. How often should I replace my foot mat?
Most mats last between six months and two years, depending on usage and maintenance. Replace your mat when it loses its grip or appearance.
2. Can I wash all types of foot mats in the machine?
Not all mats are machine washable. Fabric and microfiber mats usually are, but rubber and coir mats should be hand-cleaned to avoid damage.
3. What is the best material for an outdoor foot mat?
Coir and rubber are the best options for outdoor use because they’re durable and resistant to moisture and dirt.
4. How can I prevent my mat from slipping on the floor?
Choose mats with a non-slip backing or place a rug pad underneath to keep them secure.
5. Are foot mats safe for wooden floors?
Yes, but ensure the backing material doesn’t trap moisture, as it could damage wood surfaces over time.
6. Can I use the same type of mat for the bathroom and kitchen?
It’s better to use specific mats for each area. Bathroom mats should absorb water quickly, while kitchen mats should offer comfort and durability.
7. How do I remove odor from my foot mat naturally?
Sprinkle baking soda on the mat, leave it for a few hours, and vacuum it off. You can also add a few drops of essential oil for a pleasant scent.
Throughout this “Foot Mat – Step by Step” guide, we’ve explored the essential role that a simple mat plays in maintaining cleanliness, safety, and style. You’ve learned how to choose the right type of mat, clean and care for it properly, and even create your own DIY version from scratch. A foot mat might seem small, but its impact on your home’s comfort and hygiene is significant.
Now that you know every step, you can make informed decisions and perhaps even enjoy the process of crafting your own. If you found this article helpful, please share your honest opinion and suggestions — your feedback helps improve future guides and ensures more people step confidently into cleaner, safer homes.


