
Crocheted house-shaped cookie for Christmas tree

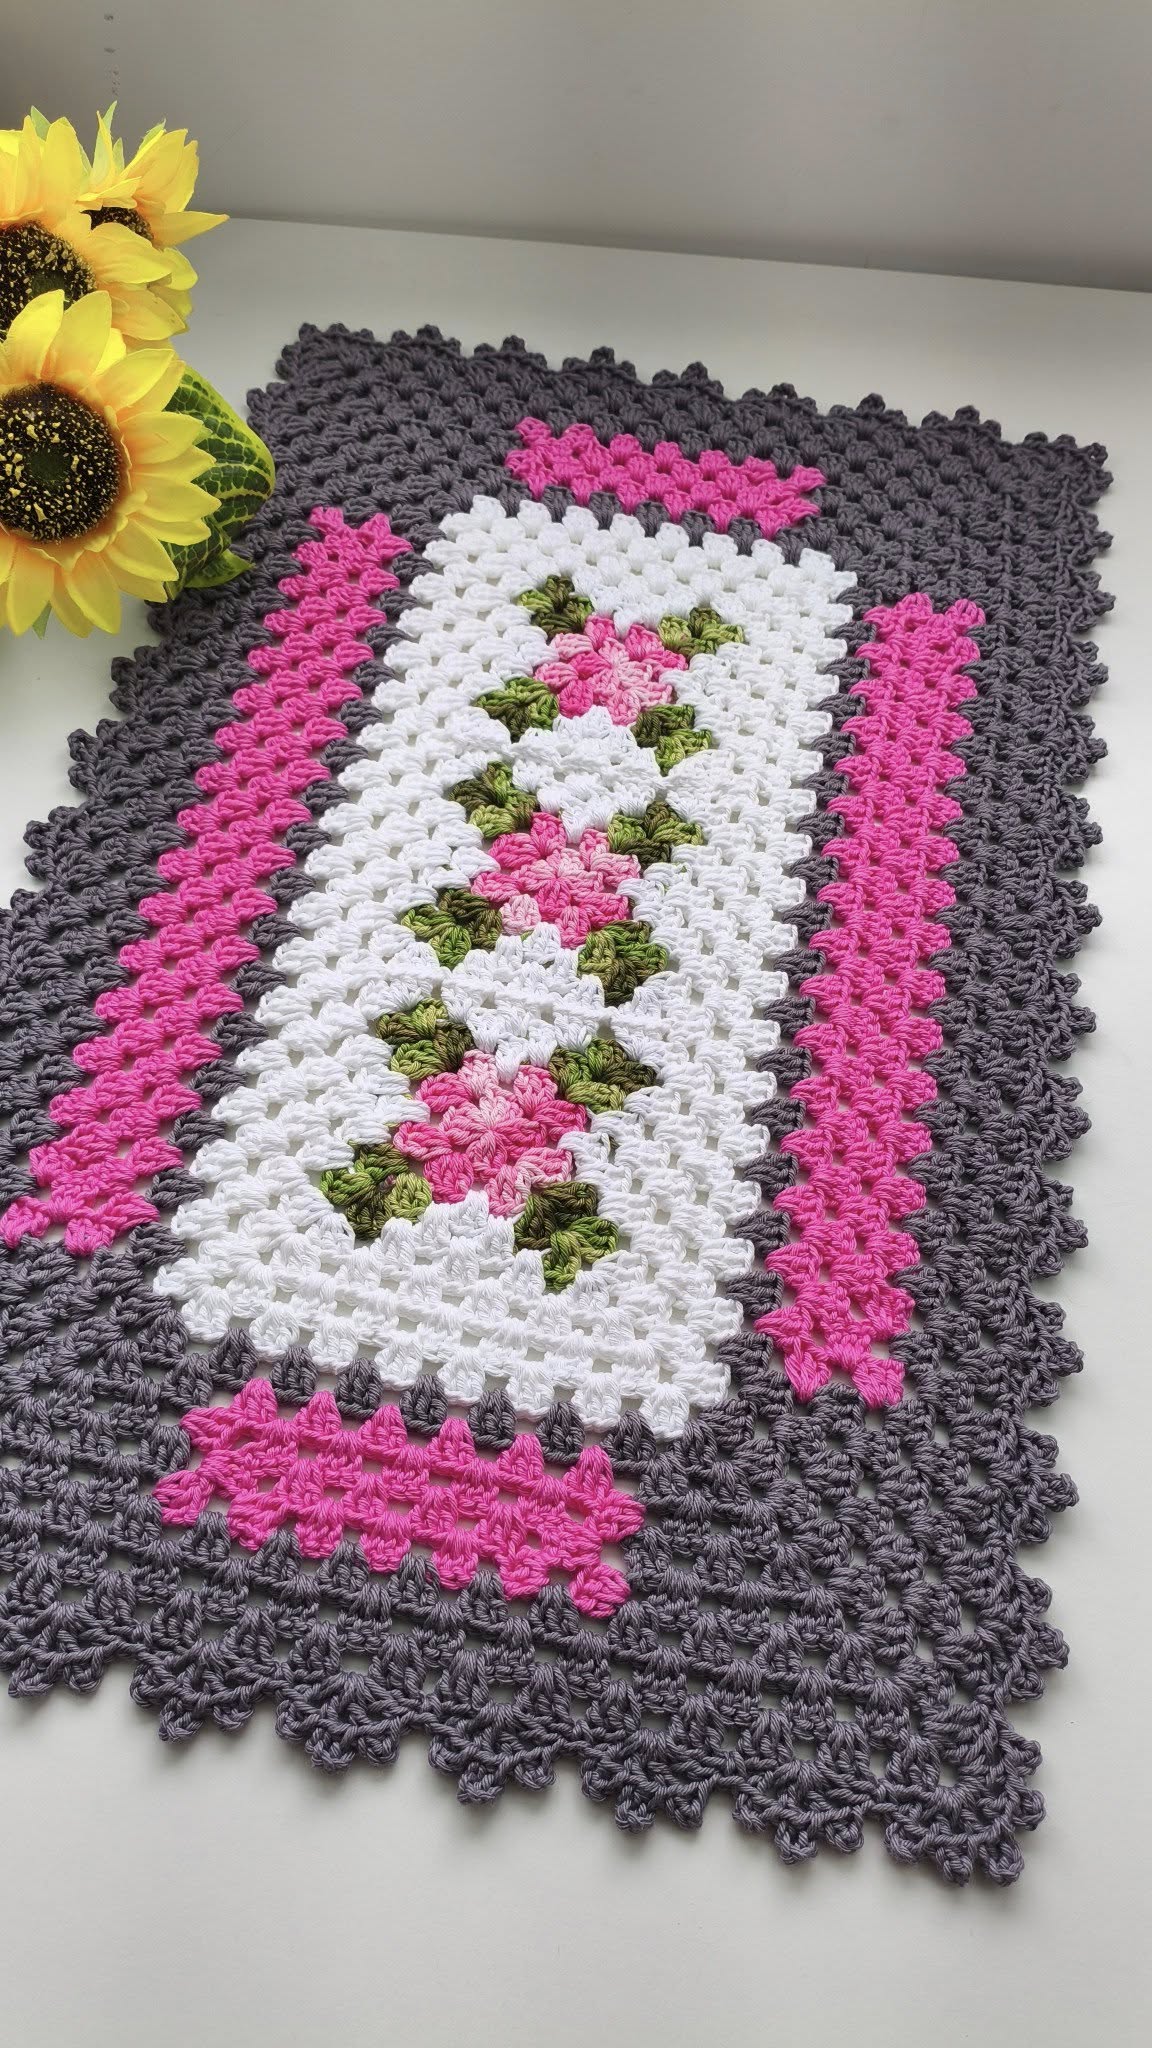
The Rectangular Crochet Rug – Free Pattern is one of the most practical and stylish crochet projects you can make for your home. This handmade piece combines beauty, comfort, and functionality in a way that factory-made rugs simply can’t match.
Whether you’re an experienced crocheter or just starting out, creating your own rectangular crochet rug allows you to customize its size, color, and texture to perfectly suit your home décor.
Crochet rugs have been gaining popularity not only for their aesthetic value but also because they’re eco-friendly and highly durable.
When you craft your own rectangular crochet rug, you’re making something unique that reflects your creativity and craftsmanship. Plus, using a free pattern makes this DIY project even more accessible to everyone who loves the art of crochet.
If you’ve ever dreamed of making a cozy, stylish rug for your living room, bedroom, or even your bathroom, this Rectangular Crochet Rug – Free Pattern will show you everything you need to know. From choosing the right yarn to learning how to adjust the size and finishing details, this guide will help you crochet a stunning rug that you’ll love for years to come.
Selecting the perfect materials is the first step to success with your rectangular crochet rug. The yarn you choose will determine how soft, thick, and durable your finished rug will be. For this project, cotton yarn is often the best choice because it’s strong, washable, and has a lovely natural texture. However, if you want a softer, more cushiony feel, you can opt for t-shirt yarn or even recycled fabric yarn.
When it comes to hooks, size matters. A larger hook (like 8 mm or 9 mm) works well for thick yarns, allowing your rug to come together quickly with a flexible, cozy texture. If you use thinner yarns, a smaller hook will help you achieve a tighter stitch, which can be great for smaller spaces or accent rugs. Always make a small swatch before starting to test the combination of yarn and hook you’ve chosen.
Color selection is another important aspect of your crochet rug. Solid neutral tones like beige, gray, or white can match any décor, while bright colors or striped combinations can bring life to a dull space. You can even use leftover yarns from previous projects to create a unique, multicolored pattern — a great way to reduce waste and personalize your rug.
One more tip: make sure your yarn is easy to clean. Rugs are exposed to a lot of foot traffic, so using machine-washable yarn will save you time and effort in maintenance. Cotton and acrylic blends are usually the best options for this purpose.
If you want your rectangular crochet rug to have extra grip, consider adding a non-slip backing after finishing it. You can find non-slip fabric or rubberized mats that can be sewn or glued to the back of your rug to keep it safely in place on smooth floors.
Finally, remember that your tools and materials are the foundation of your project. Choosing high-quality yarn and the right hook size will make your crocheting process smoother and ensure that your finished rug looks professional and lasts for years.
Now that you have your materials ready, let’s start crocheting your Rectangular Crochet Rug – Free Pattern. This pattern is simple, beginner-friendly, and easy to adjust for any size you want.
This free crochet rug pattern is extremely versatile. You can modify it by using different stitch combinations, adding fringes to the edges, or even changing colors every few rows for a striped look. The beauty of crochet is that you can always customize your work to match your personal style.
If you’re making a rug for a child’s room or a pet area, try using soft yarns and playful colors. For a minimalist or modern space, choose sleek tones like gray, white, or charcoal and keep the design simple.
Finally, don’t forget to measure your space before you begin. Knowing the exact dimensions you need will save you time and yarn, ensuring that your rectangular crochet rug fits perfectly in your chosen spot.
After spending hours crafting your rug, you’ll want it to look beautiful and last as long as possible. Finishing and maintenance are key to achieving that professional look and long lifespan.
First, make sure to weave in all yarn ends securely. Loose ends can unravel over time, especially in high-traffic areas. Use a sturdy tapestry needle and weave the ends in several directions to make them almost invisible.
Blocking your rug is another crucial step. Wet-blocking (lightly spraying the rug with water and pinning it to shape while it dries) helps even out stitches and gives your rug a polished, flat look. It’s especially useful for rectangular shapes where symmetry is important.
To make your crochet rug extra durable, consider reinforcing the edges. You can crochet a double border or even stitch a fabric backing to strengthen the structure. Some crocheters like to use fabric glue around the border to help prevent fraying.
Cleaning your rug properly will also extend its life. Always check your yarn label for washing instructions. Most cotton rugs can be machine washed on a gentle cycle and air-dried flat. Avoid wringing or twisting the rug to prevent distortion.
If your rug starts curling or losing shape over time, you can re-block it or steam it gently to restore its original form. For rugs used on smooth floors, reapply non-slip backing periodically to maintain safety.
Lastly, remember that handmade items gain character with age. Over time, your rectangular crochet rug will soften and adapt to your home, becoming a cozy and treasured part of your décor.
Once you’ve mastered the Rectangular Crochet Rug – Free Pattern, you can experiment with creative variations to make each project unique.
Try incorporating different stitch techniques such as the waffle stitch, moss stitch, or herringbone half-double crochet. These patterns add beautiful texture and can completely change the look of your rug.
You can also play with color blocking. For example, make the center of your rug in one color and the border in another. Or alternate between two colors every few rows to create a striped or gradient effect.
Adding fringe, tassels, or pom-poms along the shorter edges of the rug gives it a bohemian vibe that’s perfect for casual interiors.
Another fun idea is to use eco-friendly yarns like recycled cotton or bamboo. These materials not only look and feel great but also reduce environmental impact.
If you prefer a more luxurious finish, try metallic yarns or combine a strand of soft mohair with cotton to give your rug a subtle shimmer.
The possibilities are endless — every rectangular crochet rug you make can be a completely different expression of your creativity and style.
1. What is the best yarn for a crochet rug?
Cotton yarn is the most popular choice because it’s durable, washable, and holds its shape well. T-shirt yarn is also a great option for a thicker, more cushioned rug.
2. How long does it take to make a rectangular crochet rug?
Depending on the size and complexity, it can take anywhere from a few hours to a few days. Beginners may take longer, but the pattern is simple enough for anyone to complete with patience.
3. Can I make the rug larger or smaller?
Yes! You can easily adjust the size by increasing or decreasing the number of foundation chains and rows.
4. How can I stop my crochet rug from slipping?
You can add a non-slip backing, such as a rubber mat or anti-slip spray, to the bottom of your rug.
5. What’s the easiest stitch for beginners?
The single crochet stitch is ideal for beginners because it’s simple, sturdy, and creates a solid texture perfect for rugs.
6. Can I wash my crochet rug in a washing machine?
Most cotton and acrylic rugs can be washed on a gentle cycle, but always check the yarn label for care instructions.
The Rectangular Crochet Rug – Free Pattern is the perfect project for anyone looking to combine creativity, practicality, and comfort. By choosing the right materials, following simple steps, and adding your personal touch, you can craft a stunning rug that enhances your home décor and showcases your skills.
We hope this guide has inspired you to start your own crochet rug today. If you enjoyed this article or have tried making a rectangular crochet rug yourself, share your honest opinion and suggestions below — your feedback helps others create beautiful handmade pieces too!


