
Learning how to make a crochet square is one of the most rewarding and practical skills for anyone starting in the world of crochet.
Whether you want to create cozy blankets, stylish bags, or colorful clothing, mastering the basic crochet square opens the door to endless creative possibilities. ,
This guide will walk you through the essentials, from materials and basic stitches to different techniques, patterns, and project ideas — all explained in simple language for beginners.
A crochet square is often the foundation of many crochet projects. It’s a simple shape that allows you to experiment with colors, textures, and stitch variations while building confidence in your technique.
Once you understand how to make a perfect square, you can connect multiple pieces to create stunning patterns or combine them into larger projects like throws, pillows, or even garments.
This comprehensive tutorial will not only teach you the basics of how to make a crochet square, but it will also help you understand the creative potential behind this small but powerful piece. By the end of this article, you’ll know how to choose your yarn, follow simple and complex patterns, and assemble your squares into something beautiful and unique.
1. Understanding the Basics of a Crochet Square
A crochet square starts with a simple idea: creating a balanced, even shape using basic crochet stitches. For most beginners, this is the best project to practice consistency, counting stitches, and learning how tension affects your work.
To begin, you’ll need a few essential tools: a crochet hook, yarn, scissors, and a yarn needle. Your hook size should match your yarn thickness — this information is usually found on the yarn label. For beginners, medium-weight yarn and a 5 mm hook are ideal. These materials make it easier to see your stitches and maintain even tension.
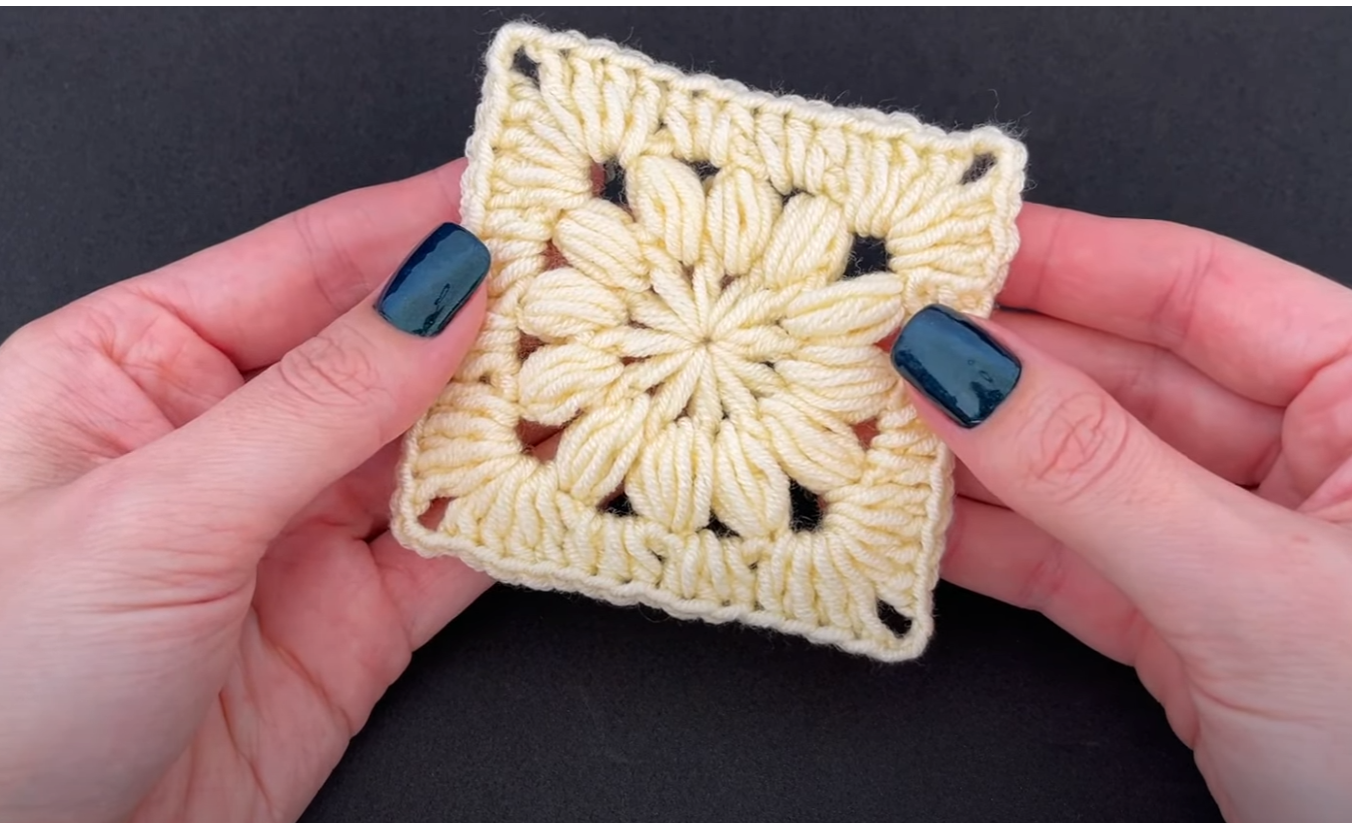
The classic granny square is the most popular type of crochet square. It starts with a small loop or chain in the center and expands outward with clusters of stitches, usually double crochets, separated by chain spaces. This technique creates an open, lacy look that’s both lightweight and visually appealing.
However, not all crochet squares are granny squares. Some patterns use single crochet, half double crochet, or even textured stitches like bobbles and shells. You can also create solid squares without gaps, which are perfect for cozy blankets or sturdy bags.
The beauty of a crochet square lies in its versatility. You can adjust colors in each round, mix different stitch types, or even experiment with yarn textures. This freedom allows you to express creativity while learning the fundamentals of crochet.
Lastly, practice is key. The more you make, the better you’ll get at maintaining consistent tension and forming clean, even edges — both crucial for joining multiple squares together in larger projects.
2. Step-by-Step Process to Make a Crochet Square
Now that you understand the basics, let’s go step by step through making a simple crochet square. Even if you’ve never crocheted before, this section will help you create your very first piece successfully.
Step 1: Create a Slip Knot and Foundation Chain
Start with a slip knot on your hook. Make four chains and join them with a slip stitch to form a small ring. This ring will serve as the center of your square.
Step 2: Begin the First Round
Chain three (this counts as your first double crochet), then make two more double crochets into the ring. Chain two to form a corner. Repeat this pattern — three double crochets and two chains — three more times. Join with a slip stitch to close the round.
Step 3: Building Additional Rounds
In each corner space, you’ll create a new corner by crocheting three double crochets, two chains, and another three double crochets in the same space. Between corners, add three double crochets in the spaces between clusters.
Step 4: Changing Colors
To make your crochet square more vibrant, switch yarn colors after each round. To do this cleanly, complete your final stitch with the new color and continue the next round as usual.
Step 5: Finishing the Square
After reaching the desired size, fasten off your yarn by cutting it and pulling it through the final loop. Use your yarn needle to weave in the loose ends neatly on the back side.
Step 6: Blocking (Optional but Recommended)
Blocking helps your crochet square maintain a perfect shape. Pin it onto a soft board, spray it lightly with water, and let it dry flat. This step ensures that your edges are straight and corners sharp, which is especially useful when joining multiple squares.
Once you’ve completed these steps, you’ll have your very first handmade crochet square — an exciting achievement for any beginner.
3. Creative Ways to Use Crochet Squares
Once you’ve mastered making crochet squares, the real fun begins: turning them into stunning creations. These small pieces can be combined in countless ways to create both decorative and functional items.
One of the most popular uses for crochet squares is making blankets. You can mix different colors, patterns, and stitch types to create a visually dynamic piece that’s both warm and beautiful. Whether you choose a simple color palette or a rainbow design, each square adds personality to your project.
Pillows are another excellent project idea. By joining a few squares together, you can easily make a unique cushion cover. Choose soft yarn for comfort and experiment with textured stitches for added visual interest.
You can also use crochet squares to design wearable items like scarves, cardigans, or bags. By combining multiple squares, you can form intricate patterns that look complex but are actually quite simple once you know the basic technique.
For home décor enthusiasts, crochet squares can be transformed into table runners, wall hangings, or even coasters. Their modular nature allows you to customize size and design based on your needs.
Additionally, small leftover yarn scraps can be repurposed into mini crochet squares, perfect for patchwork-style projects or accent details on larger pieces. This not only reduces waste but also adds a personal touch to your creations.
Finally, crochet squares are an excellent way to practice new stitches. Each square can serve as a mini swatch for testing different yarns, color combinations, or stitch patterns before committing to a larger project.
4. Tips and Tricks for Perfect Crochet Squares
Even experienced crocheters sometimes struggle with uneven edges or misshapen squares. The following tips will help ensure your crochet squares come out perfectly every time.
First, maintain consistent tension throughout your work. Uneven tension can cause your squares to curl or warp. If you notice inconsistency, practice holding your yarn differently until you find a grip that feels natural and steady.
Second, always count your stitches. Losing track of corners or side stitches can distort your square’s shape. It’s a good habit to double-check each round before moving on.
Third, consider using stitch markers in each corner when working on larger squares. They make it easier to identify where to place corner stitches and help maintain symmetry.
Fourth, use blocking to fix small imperfections. Even if your tension varies slightly, blocking can smooth and shape your work, giving it a professional finish.
Fifth, experiment with color coordination. Contrasting colors make each square stand out, while complementary shades create a harmonious look. Don’t be afraid to try new combinations — the flexibility of crochet squares makes color play both easy and rewarding.
Lastly, remember that practice makes progress. The more crochet squares you make, the better your technique becomes. Over time, your stitches will look cleaner, and your projects will gain a polished, handmade charm that truly stands out.
FAQ – Frequently Asked Questions About Crochet Squares
1. What is the easiest crochet square for beginners?
The easiest crochet square to start with is the traditional granny square. It uses only basic stitches like chains and double crochets, making it ideal for practice and creativity.
2. How long does it take to make one crochet square?
A small crochet square can take about 15 to 30 minutes for beginners, depending on stitch complexity and yarn size. As you gain experience, your speed will naturally increase.
3. Can I use different yarn types in one project?
Yes, but make sure all yarns have similar weights and textures. Mixing drastically different yarns may cause uneven tension or warping in your crochet squares.
4. How do I join multiple crochet squares together?
You can join squares using slip stitches, single crochet seams, or sewing with a yarn needle. Each method offers a different look — try them to find your favorite.
5. Why do my crochet squares curl at the edges?
Curling usually happens due to tight tension or missed stitches in corners. Relax your grip and ensure you’re adding the correct number of stitches in each round.
6. How can I keep my squares the same size?
Always use the same hook, yarn type, and tension level. Blocking each crochet square also helps maintain uniformity.
Conclusion
Mastering the crochet square is one of the most valuable steps in your crochet journey. With just a few basic stitches and a little patience, you can create beautiful, customizable pieces that serve as the foundation for countless creative projects. From blankets to clothing to decorative art, the possibilities are truly endless.
If you’ve followed this guide, you now have the knowledge and confidence to start crafting your own crochet squares and exploring new designs. Remember — perfection comes with practice, and every square you make brings you closer to mastering this timeless craft.
VIDEO TUTORIAL
We’d love to hear from you! Share your honest opinion and suggestions about this guide in the comments. Your feedback helps us improve and inspires others to start their own crochet journey too.