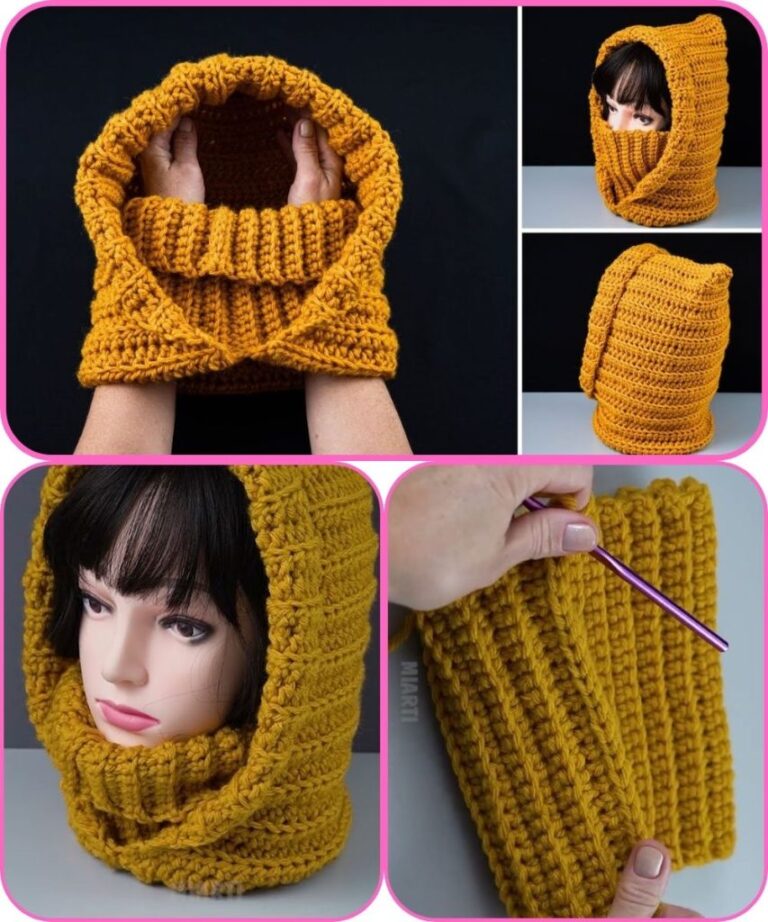
Simple Crochet Balaclava - Free Pattern

Creating a crochet hat for winter is both a practical and creative endeavor. These cozy, handmade accessories keep you warm while allowing you to showcase your personal style.
Using a free crochet pattern, you can make a hat that is perfectly sized, soft, and stylish. The process of making a DIY winter hat is rewarding, providing a sense of accomplishment and the satisfaction of wearing something you crafted yourself.
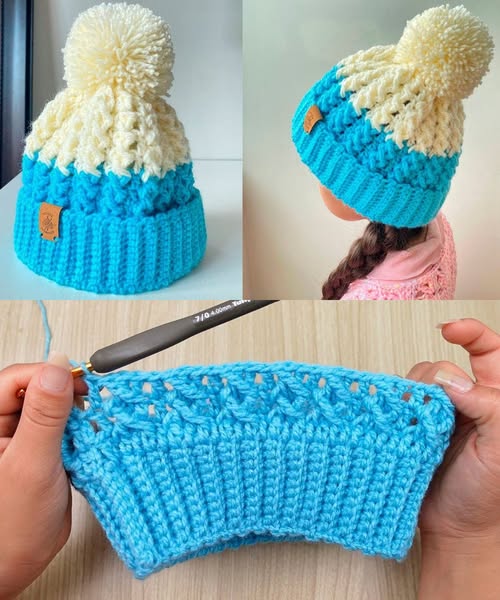
Crochet hats are versatile and can be customized in countless ways, including color choices, stitch patterns, and embellishments like pom-poms or ear flaps.
The beauty of a handmade crochet hat is that it can be tailored to suit anyone, whether it’s a snug fit for a child or a slouchy style for adults.
Using quality yarn and following a reliable crochet pattern ensures that your winter hat is durable, warm, and comfortable. The pattern also allows beginners to practice basic stitches, while experienced crocheters can experiment with more advanced techniques, creating intricate textures and unique designs. Every stitch contributes to the overall warmth, softness, and aesthetic appeal of the finished hat.
Crocheting a warm winter hat is not only functional but also a form of relaxation and mindfulness. The repetitive motion of crocheting helps reduce stress, encourages focus, and allows for creative expression. Additionally, making hats as gifts shows thoughtfulness and care, offering a personal touch that store-bought items cannot replicate. By following this free crochet pattern, you’ll gain confidence in your skills while producing a high-quality accessory suitable for the cold season.
To make your crochet hat for winter, you’ll need a few essential materials. Choose soft, warm yarn such as acrylic, wool, or a wool blend. Thicker yarn ensures extra warmth, while a medium-weight yarn gives more flexibility for intricate stitch patterns. Consider colors that suit your style or wardrobe, and if making hats as gifts, think about the recipient’s preferences.
A crochet hook in the recommended size for your yarn is essential. Using the correct hook size ensures your stitches are uniform and the hat fits correctly. Smaller hooks create tighter stitches for extra warmth, while larger hooks give a looser, more flexible fabric.
Other tools include a yarn needle for weaving in ends, stitch markers to track rounds, and scissors for trimming. Optional tools like a pom-pom maker or blocking tools can help add finishing touches to your DIY winter hat.
Before starting, ensure your yarn is wound properly to prevent tangling. Organized materials make the crocheting process smoother and more enjoyable. Having everything ready beforehand allows you to focus on following the free crochet pattern without interruptions.
Additionally, it is helpful to have a measuring tape on hand to check your gauge. Achieving the correct size ensures the hat fits as intended, especially when making hats for others. Gauge consistency is a key step in producing professional-looking handmade crochet hats.
Finally, prepare a comfortable workspace with good lighting and minimal distractions. Crocheting is easier and more enjoyable when you have an organized area, proper posture, and tools within reach, ensuring a satisfying crafting experience.
Begin your crochet hat for winter by creating a magic ring or chain circle, depending on your preferred starting method. The hat is typically worked in rounds, increasing stitches gradually to form the crown. Following the crochet pattern ensures your increases are spaced correctly, resulting in a smooth, even shape.
Once the crown is complete, continue crocheting downward to form the body of the hat. Depending on the style, this may involve simple single crochet, half-double crochet, or more decorative stitch patterns. This section determines the height and style of your DIY winter hat, whether fitted or slouchy.
For ribbed or textured edges, work the brim using techniques such as front post and back post stitches. Ribbing creates elasticity, allowing the hat to fit snugly while adding a visually appealing texture. Adjust the number of rows for the desired length of the brim.
If adding embellishments like pom-poms, earflaps, or buttons, crochet these separately and attach securely. Pom-poms can be made from matching or contrasting yarn, enhancing the hat’s playful or stylish look. Earflaps provide extra warmth and a classic winter feel.
Check your work regularly to ensure consistent tension and stitch uniformity. Mistakes are easier to fix during construction rather than after completion, and maintaining careful attention to the crochet pattern results in a polished final product.
Finally, weave in all loose ends and block the hat if desired. Blocking helps even out stitches, enhances shape, and gives your handmade crochet hat a professional finish. Once finished, your hat is ready to wear or gift, providing warmth and style throughout the winter season.
Customization allows your crochet hat for winter to reflect personal style. Experiment with colors, combining solids, stripes, or variegated yarn for unique designs. Mixing textures, like fuzzy or sparkly yarns, adds depth and visual interest.
You can adjust the size to fit children, teens, or adults by measuring head circumference and modifying the number of rounds or stitches. This ensures a comfortable and perfect fit for any wearer.
Adding decorative elements such as buttons, beads, or appliqué enhances your DIY winter hat. For example, a small crochet flower or star can create a cute or playful accent.
Stitch patterns also offer customization opportunities. Cable, shell, or bobble stitches add texture and complexity, transforming a simple hat into a visually striking accessory.
Consider seasonal or themed designs, like holiday motifs, to make your hats festive and fun. These variations make your free crochet pattern versatile for multiple occasions.
Finally, experiment with brim styles and shapes. Folded ribbed brims, flared edges, or rolled hems allow you to create different aesthetics while maintaining warmth and comfort. Each modification makes your handmade crochet hat unique.
One common mistake when making a crochet hat for winter is inconsistent tension, which can result in uneven stitches and an ill-fitting hat. Maintaining even tension throughout ensures a smooth, polished look.
Incorrect stitch counts during increases or decreases can distort the shape of the crown. Use stitch markers and count frequently to prevent errors, ensuring your DIY winter hat maintains its intended structure.
Using the wrong hook size for your yarn may result in a hat that is too tight or too loose. Always check the recommended hook size and gauge provided in the crochet pattern.
Neglecting to measure the hat against head size can lead to sizing issues. Take time to measure as you go, adjusting as needed for children or adults.
Improper finishing, like loose ends or uneven blocking, affects the overall appearance. Carefully weave in ends and block your hat for a professional, polished finish.
Finally, rushing through the project often results in mistakes. Take your time, follow the free crochet pattern carefully, and enjoy the process of creating a cozy, stylish handmade crochet hat.
Q1: Is this pattern beginner-friendly?
Yes, this crochet pattern includes clear, step-by-step instructions suitable for beginners.
Q2: What type of yarn is recommended?
Soft, warm yarn such as acrylic, wool, or a wool blend is ideal for a warm winter hat.
Q3: How long does it take to make a hat?
Depending on skill level, it typically takes 2–4 hours to complete a hat.
Q4: Can I customize the size?
Yes, adjust stitches and rounds to fit children, teens, or adults.
Q5: Can I sell hats made from this pattern?
Check the licensing of the free crochet pattern, but personal or commercial use is often allowed with proper credit.
Q6: How should I wash my handmade hat?
Hand wash gently with mild soap and air dry to maintain shape and softness.
Creating a crochet hat for winter is a rewarding project that combines practicality with artistic expression. By following this free crochet pattern, you can make a cozy, stylish, and customized handmade crochet hat perfect for gifting or personal use. From selecting yarn and colors to choosing stitches and finishing touches, every step adds personality and warmth to the final product.
We hope this guide inspires you to try making your own DIY winter hat. Share your creations, leave a sincere opinion, and suggest new patterns you’d like to see. Your feedback helps foster a creative community where crochet enthusiasts can learn, share, and enjoy the art of making beautiful, cozy accessories for the colder months.
You can also add decorative elements such as pompoms, earflaps, or textured stitches to make your hat unique. This pattern emphasizes versatility and can be adapted to various sizes and styles, from snug beanies to slouchy hats.


