
Crocheted house-shaped cookie for Christmas tree

Creating a Christmas Tree – Crochet Pattern is a wonderful way to bring a handmade touch to your holiday decorations. A DIY crochet Christmas tree adds charm and personality to any home, and making one yourself allows you to customize colors, size, and ornaments.
This project is perfect for both beginners and experienced crocheters who want a festive, fun, and creative way to celebrate the season.
Crocheting a Christmas Tree allows you to explore various techniques, from basic stitches to shaping and layering. Following a clear crochet pattern ensures your tree comes out perfectly every time, with balanced branches and a stable base.
Whether it’s a small tabletop decoration or part of a holiday centerpiece, this handmade creation is sure to impress family and friends.
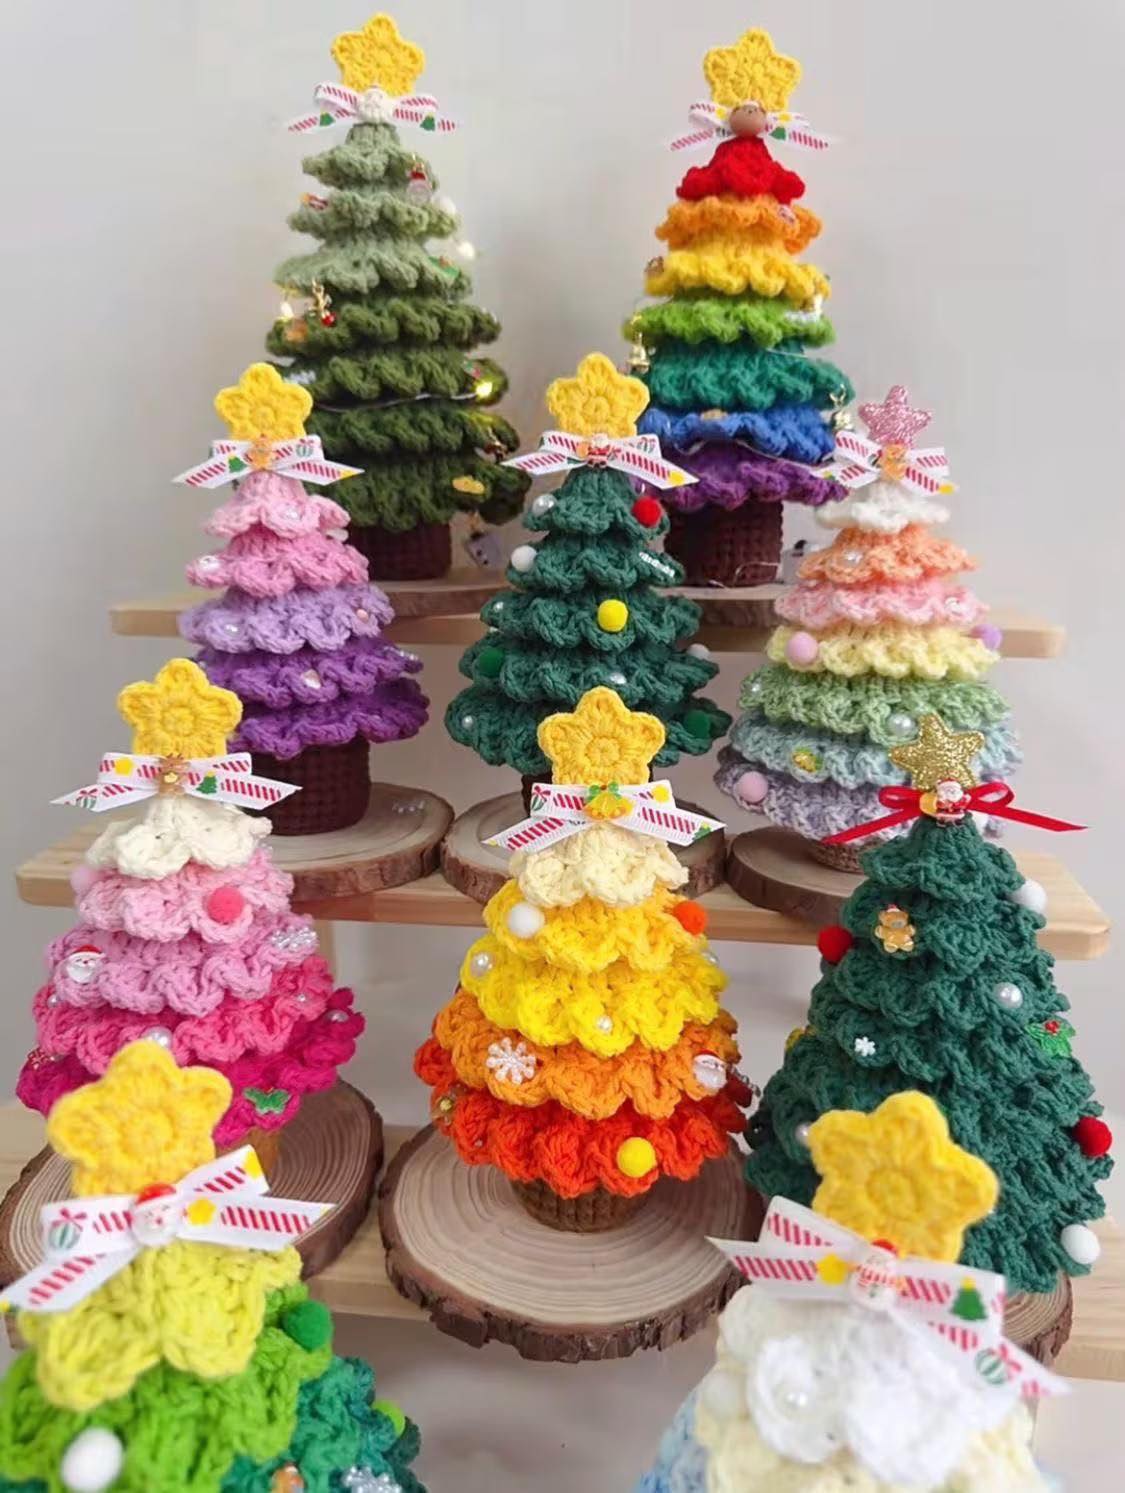
One of the best aspects of this Christmas Tree – Crochet Pattern is its versatility. You can make multiple trees in different sizes, colors, and textures, allowing you to create a full holiday display. Adding small crochet ornaments, stars, or beads brings your tree to life. With each stitch, you’ll develop a sense of pride and joy, knowing this charming piece was crafted by your own hands.
To begin your Christmas Tree – Crochet Pattern, gather the necessary materials. You will need yarn in green shades for the tree itself, along with other colors for decorations if desired. Cotton or acrylic yarn works best, providing structure and softness.
A suitable crochet hook is essential. Typically, a 3mm or 3.5mm hook works well for a medium-sized tree, but you can adjust the size depending on how large or small you want your DIY crochet Christmas tree to be.
Additional tools include a yarn needle for sewing pieces together and weaving in ends, scissors for trimming yarn, and stitch markers to help track rounds. Stuffing material like polyester fiberfill is also recommended to give your tree a firm but soft shape.
Optional decorations include small beads, sequins, or tiny crochet stars to add a festive touch. These embellishments make your handmade Christmas decoration stand out and allow for personalization.
Using quality materials ensures your tree is durable and looks professional. The combination of soft yarn, appropriate stuffing, and careful assembly guarantees a beautiful, long-lasting crochet holiday decor.
Finally, having all materials organized before you start will make the project smoother and more enjoyable. With everything ready, you can focus on following the Christmas Tree – Crochet Pattern without interruptions.
Start by creating the base of your Christmas Tree – Crochet Pattern. Using a magic ring, work in continuous rounds to form a stable foundation. Gradually increase stitches to widen the base, ensuring the tree stands upright.
Next, build the layers of the tree by working in decreasing rounds. Each layer can be slightly smaller than the one below to achieve the classic conical shape. Pay attention to stitch counts to maintain symmetry and avoid uneven layers.
For the branches, you can use single crochet stitches or incorporate textured stitches like popcorn or bobble stitches for a more decorative look. These details add depth and realism to your DIY crochet Christmas tree.
Once the main body is complete, it’s time to attach the trunk. Using brown yarn, crochet a small cylindrical piece and sew it securely to the bottom of the tree. This provides stability and a natural appearance.
Decorating your tree is the next step. Crochet tiny ornaments, stars, or even garlands, and attach them carefully. You can also use beads or sequins for sparkle. Each decoration adds charm to your handmade Christmas decoration.
Finally, stuff the tree lightly if needed to maintain its shape, then weave in all loose ends. Adjust the layers and decorations for the best visual effect. Your crochet holiday decor is now ready to bring festive cheer to your home.
To ensure your Christmas Tree – Crochet Pattern turns out beautifully, start by carefully counting your stitches. Consistency in stitch count prevents uneven layers and helps maintain the conical shape.
Using stitch markers is highly recommended, especially for beginners. They help track rounds and ensure you don’t lose your place, resulting in a more professional-looking DIY crochet Christmas tree.
Experiment with different green shades and yarn textures to add dimension to your tree. Variegated yarn can create a natural, gradient effect, while fluffy yarn adds a soft, whimsical touch.
Take your time with decorations. Pin items in place before sewing to check symmetry and spacing. Small adjustments now save frustration later and make your handmade Christmas decoration look polished.
Be careful not to overstuff your tree. Too much stuffing can distort the shape, while too little can make it floppy. Aim for a firm yet soft structure that stands nicely.
Finally, practice patience and enjoy the process. Crocheting a Christmas Tree is a detailed project, and the reward comes from seeing your creation take shape, stitch by stitch.
Once you’ve mastered the basic Christmas Tree – Crochet Pattern, explore creative variations. Add colorful ornaments, beads, or tiny crochet stars to make your tree festive and unique.
Experiment with different sizes. Smaller trees are perfect for tabletops or gifts, while larger trees make impressive centerpieces. Adjust hook size and yarn thickness to achieve the desired dimensions.
Color mixing adds a fun twist. Use multiple shades of green or even unconventional colors for a whimsical holiday decor effect. Your DIY crochet Christmas tree can be as traditional or playful as you like.
Facial features or themed decorations can give your tree character. Tiny crochet animals, snowflakes, or holiday symbols make your handmade Christmas decoration stand out.
Texture variations enhance realism. Using fluffy or boucle yarn adds depth, while smooth yarn highlights decorative stitches. Combining textures creates a professional and eye-catching effect.
Finally, consider adding functional elements like a detachable base or storage ornament pockets. These creative touches make your crochet holiday decor not just beautiful but also practical.
Q1: Is this Christmas Tree pattern suitable for beginners?
Yes! The Christmas Tree – Crochet Pattern uses basic stitches with clear instructions, making it accessible for beginners willing to follow each step carefully.
Q2: How long does it take to complete one tree?
Depending on size and experience, a small tree can take 2–4 hours, while a larger tree may take 5–7 hours.
Q3: What type of yarn is best for a crochet Christmas tree?
Cotton or acrylic yarn works best. Variegated green yarn adds depth, and soft yarn gives a plush, cozy feel.
Q4: Can I customize the size of the tree?
Absolutely! Adjusting yarn thickness and hook size allows you to create small, medium, or large trees according to your needs.
Q5: Can I add decorations to my tree?
Yes! You can crochet tiny ornaments, stars, or garlands, and even add beads or sequins for extra sparkle.
Q6: Can I sell the crochet Christmas trees I make?
Yes, your handmade trees can be sold, but always credit the original pattern if it’s not your own design. Customization helps make each piece unique for sale.
This Christmas Tree – Crochet Pattern tutorial guided you through everything from gathering materials to creating, decorating, and customizing your DIY crochet Christmas tree. You learned how to make a charming handmade Christmas decoration, tips for perfection, and ideas for creative variations.
Now it’s your turn to bring festive joy with your handmade creation. Share your experiences, leave your honest opinion, and suggest any improvements or new variations you’d like to try. Happy crocheting and happy holidays!


