
Crocheted house-shaped cookie for Christmas tree

The Rainbow Ripple Baby Blanket – FREE PATTERN is one of the most charming and joyful crochet projects you can create. Perfect for both beginner and experienced crocheters, this pattern combines soft textures, bright colors, and a rhythmic wave design that looks stunning in any nursery.
Whether you’re making it as a baby shower gift, a keepsake for your own child, or simply as a relaxing weekend project, this blanket brings warmth, beauty, and creativity together in one delightful piece.
What makes the Rainbow Ripple Baby Blanket so special is its versatility. You can easily customize the color palette to suit your style — choose pastel shades for a soft and gentle look, or go bold with bright rainbows that make the pattern pop.
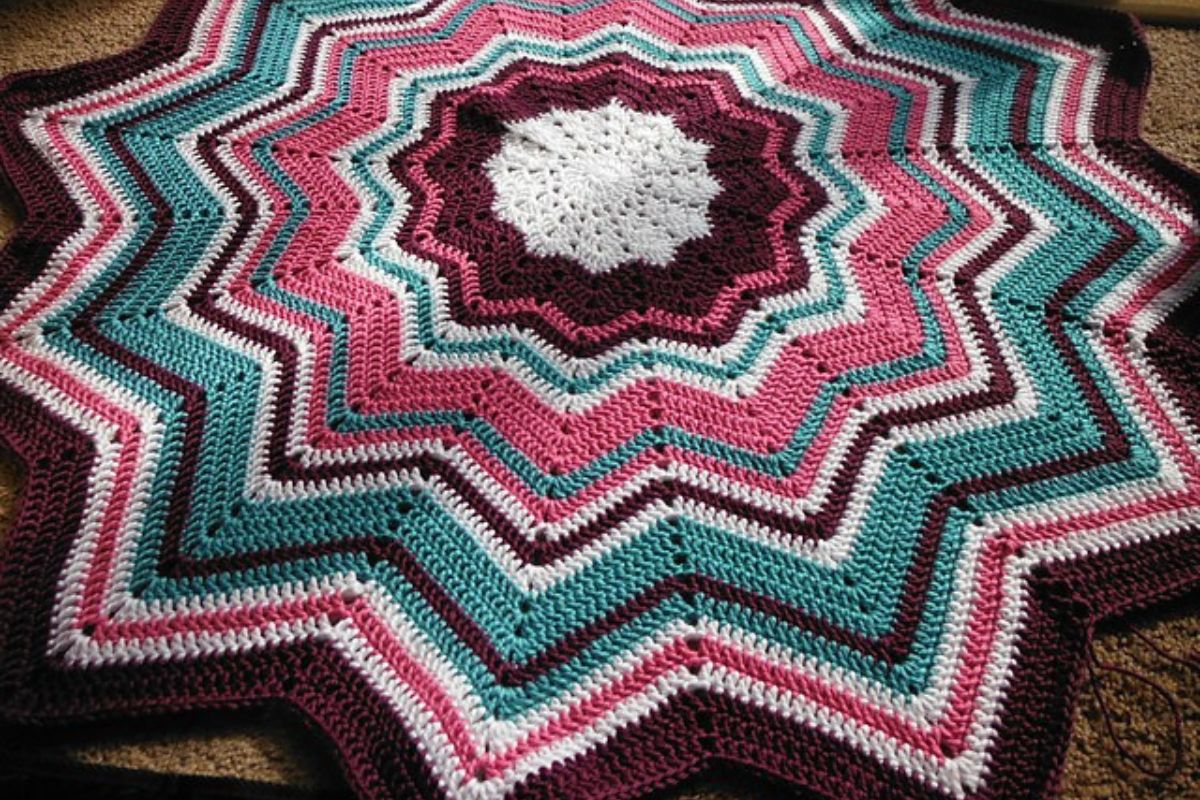
The ripple design gives a sense of movement and flow, making the finished piece feel lively and dynamic. Best of all, this is a free crochet pattern, meaning you can start right away without spending a cent on instructions.
Crocheting a ripple blanket is not just about crafting something beautiful — it’s also a form of self-care. The repetitive stitches create a meditative rhythm that helps reduce stress and increase focus. As your rows build up, you’ll see the waves form naturally, filling you with a sense of accomplishment and calm. Whether you’re new to crochet or looking for your next colorful project, the Rainbow Ripple Baby Blanket – FREE PATTERN is the perfect combination of simplicity and charm.
Before starting your Rainbow Ripple Baby Blanket, gather all your materials. Choosing the right yarn and tools ensures a smooth and enjoyable crocheting experience.
Start by selecting soft, baby-friendly yarn. Cotton or acrylic blends are the best choices since they’re gentle on the skin, easy to clean, and durable. Look for yarns labeled as baby-safe or hypoallergenic to ensure comfort and safety.
For a traditional rainbow effect, you’ll need at least seven colors: red, orange, yellow, green, blue, indigo, and violet. However, don’t hesitate to experiment with pastel or gradient tones for a subtler version.
You’ll also need a crochet hook that matches your yarn weight. Most ripple blankets work best with sizes ranging from 4 mm (G/6) to 5.5 mm (I/9). Check your yarn label for recommendations.
Other essentials include scissors, a yarn needle for weaving in ends, and a measuring tape. These small tools will help keep your project neat and professional-looking.
Lastly, prepare a comfortable workspace. Good lighting, a cozy chair, and a cup of tea make the crocheting process even more enjoyable. Remember — this is as much about relaxation as it is about creativity.
The ripple, or chevron, pattern is the signature of this blanket. It looks intricate but is surprisingly simple once you understand the rhythm of the stitches.
Start with a foundation chain that is a multiple of 14 plus 2 stitches. This structure forms the base for the wave pattern. The length of the chain determines your blanket’s width.
In the first row, you’ll work a series of double crochets (DC) across the chain, increasing and decreasing in specific spots to form the peaks and valleys. Usually, you’ll crochet two stitches together at the valley and work two stitches into one at the peak.
Continue this pattern across the row, making sure the increases and decreases align correctly. This consistency is what gives the blanket its smooth wave effect.
When you finish the first row, chain three and turn your work. Repeat the same sequence across each row, keeping your colors consistent or switching shades as desired.
Changing colors is where the magic happens. Use a color-changing technique at the end of a row to introduce a new hue without leaving loose ends. Blend shades gradually for a soft ombré look, or switch sharply for bold rainbow stripes.
After several rows, you’ll see the ripple pattern emerge beautifully. It’s normal to feel proud — watching the waves grow is incredibly satisfying!
Once your blanket reaches the desired size, it’s time to finish and personalize it. The beauty of the Rainbow Ripple Baby Blanket lies in how adaptable it is to different tastes and occasions.
Begin by securing the final row with a slip stitch and cutting your yarn, leaving enough length to weave in. Use a yarn needle to hide all loose ends neatly for a polished look.
Adding a border can elevate your blanket’s design. A simple single crochet edge in white or a complementary color helps frame the waves nicely. For a more decorative touch, consider a scalloped or picot border.
If you’re gifting the blanket, you can add a personalized tag with the baby’s name or initials. Handmade labels or embroidered fabric tags make the gift extra special.
You can also adjust the size of the blanket depending on its purpose. Make a smaller version for a stroller or a larger one for a toddler’s bed. The ripple pattern adapts beautifully to different dimensions.
Finally, consider blocking your blanket — gently stretching and shaping it after washing — to help the stitches lay evenly and the waves stand out clearly. This final step gives your work a professional finish that truly shows off your effort.
While the pattern is beginner-friendly, a few expert tips can make your crochet project even smoother and more enjoyable.
First, keep consistent tension throughout your work. Uneven tension can cause the blanket to curve or lose its ripple definition. Practice on a small swatch before starting the full project.
When switching colors, always carry the yarn up the side or weave in ends as you go. This keeps the back of your blanket tidy and saves time in finishing.
Try to plan your color sequence in advance. Lay out the yarn skeins in rainbow order or mix shades to find the combination that feels right for you.
If you want a softer look, use lighter shades or blend colors with a gradual gradient. For a more striking result, use bold, contrasting colors that make each ripple stand out.
Always measure your work periodically to ensure it’s staying straight and symmetrical. The wave pattern can trick the eye, so use a ruler or measuring tape to confirm alignment.
Lastly, remember to enjoy the process. Crochet is about creativity and mindfulness — every stitch brings you closer to a colorful masterpiece made with love.
Q1: What is the best yarn for the Rainbow Ripple Baby Blanket?
Soft acrylic or cotton blends are ideal for baby blankets. Choose hypoallergenic, washable yarns for easy maintenance.
Q2: How long does it take to make a rainbow ripple blanket?
Depending on your crochet speed, it can take anywhere from 10 to 20 hours. Beginners might take longer, but the pattern is relaxing and repetitive.
Q3: Can I make this pattern larger?
Yes, absolutely. Just increase the starting chain in multiples of 14 plus 2 to make it wider or continue adding rows for more length.
Q4: Do I need to block the blanket?
Blocking is optional but highly recommended. It evens out the ripples and enhances the overall appearance.
Q5: Can I use leftover yarn for this project?
Definitely! The rainbow pattern is perfect for using up yarn scraps in different colors and textures.
Q6: Is this pattern suitable for beginners?
Yes, it’s one of the best beginner projects. The stitch repetition helps new crocheters practice consistency while still creating something beautiful.
The Rainbow Ripple Baby Blanket – FREE PATTERN is more than just a crochet project — it’s a joyful celebration of color, warmth, and creativity. From gathering your materials to finishing your final stitch, every step of this process is relaxing and rewarding. With its soothing wave design and cheerful rainbow palette, this blanket makes the perfect handmade gift or heirloom piece.
We hope this guide has inspired you to pick up your crochet hook and start your own Rainbow Ripple Baby Blanket. Enjoy the rhythm of the stitches, play with colors, and create something truly from the heart.
When you finish, share your experience — leave your honest opinion and suggestions about this pattern. Your feedback helps inspire even more creativity in the crochet community! 🌈🧶


