
Crocheted house-shaped cookie for Christmas tree

Amigurumi Tissue Box Character – Free Crochet Pattern is a charming and playful project perfect for adding a touch of fun to any home or office space.
This adorable amigurumi design transforms an ordinary tissue box into a lovable character, making it both functional and decorative. Whether you are a beginner or an experienced crocheter, this free pattern allows you to craft a personalized tissue box cover that delights children, friends, and family.
By following this pattern, you can create a unique piece that combines creativity, practicality, and the joy of handmade crochet.
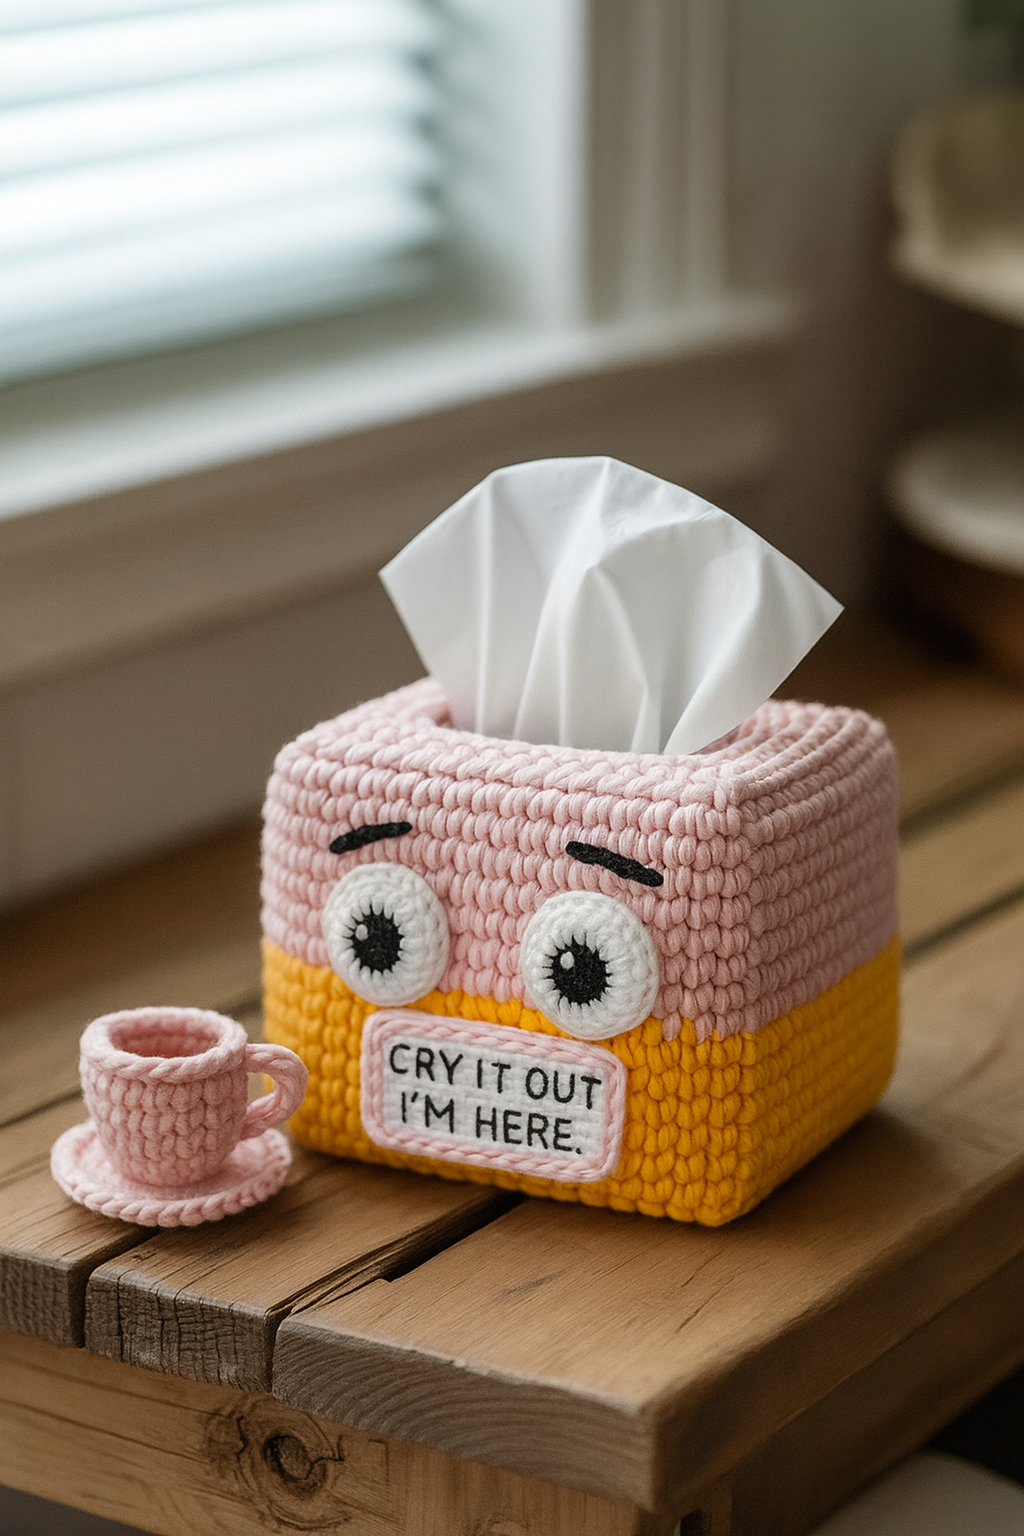
The beauty of the Amigurumi Tissue Box Character lies in its versatility. You can choose different colors, shapes, and facial expressions to match any theme or décor.
This project is not only fun but also educational for beginners who want to practice basic amigurumi techniques such as single crochet, increases, decreases, and working in rounds. Each stitch builds character and brings the design to life, making it a satisfying and engaging crochet project.
Creating your own amigurumi tissue box character is also a great way to use leftover yarn and small scraps creatively. Unlike standard tissue box covers, a handmade amigurumi version is customizable, eco-friendly, and reusable. You can design characters for every season, holiday, or special occasion. In this guide, we will provide all the details you need—from materials and tools to step-by-step instructions, variations, and tips—to create a tissue box cover that is both cute and functional.
Before starting your Amigurumi Tissue Box Character – Free Crochet Pattern, gather the essential materials. This ensures a smooth crafting process and helps you stay organized.
The primary material needed is worsted weight yarn in the colors of your choice. Cotton or acrylic yarn works best because they are durable and hold shape well. You can select multiple colors for the body, face, and any decorative elements.
A crochet hook appropriate for your yarn is necessary, typically between 3.5 mm and 4.5 mm for worsted weight yarn. Using the correct hook size ensures tight stitches that prevent the stuffing from showing through.
Other required tools include a yarn needle for sewing pieces together, scissors for trimming ends, and a stitch marker to track rounds. Safety eyes or embroidery thread can be used for facial features to give personality to your character.
Optional materials include fiberfill stuffing to give the tissue box character a plush, three-dimensional shape, and blocking mats if you want to shape certain elements before assembly.
Lastly, ensure you have a comfortable workspace with good lighting. Keeping all your tools and materials within reach will make the crafting process more enjoyable and efficient, helping you complete your amigurumi tissue box character with ease.
The Amigurumi Tissue Box Character – Free Crochet Pattern can be completed by following these easy-to-understand steps. The project is divided into creating the base box cover, the character features, and assembly.
Step 1: Start with the main body by creating a rectangular base that matches the size of your tissue box. Use single crochet stitches in rows, measuring frequently to ensure a snug fit.
Step 2: Once the rectangle reaches the desired height, create the top opening for the tissues by leaving a gap in the center or crocheting a separate flap. This ensures functionality without compromising design.
Step 3: Crochet character elements separately, such as eyes, nose, mouth, ears, or any decorative feature you desire. Work in rounds for three-dimensional shapes and attach them securely using a yarn needle.
Step 4: For the eyes, safety eyes are ideal, but embroidered eyes also work beautifully. Use contrasting yarn colors to make features pop and bring your character to life.
Step 5: Stuff each amigurumi element lightly with fiberfill to maintain shape, taking care not to overstuff, which can distort the overall appearance.
Step 6: Assemble the character by sewing or attaching all the features onto the base rectangle. Ensure all parts are firmly secured, especially if the tissue box will be handled frequently.
Once you’ve completed your basic Amigurumi Tissue Box Character – Free Crochet Pattern, there are endless ways to customize your design.
Try different color combinations for body and features to match your home décor or create themed characters for holidays. Bright colors are perfect for kids’ rooms, while muted tones suit offices or living rooms.
Add accessories like tiny hats, bows, or scarves to give your tissue box character more personality and charm. Crochet small flowers or stars for a playful touch.
Experiment with facial expressions. Smiling, winking, or surprised faces make each character unique and fun. This is a great way to explore creative embroidery techniques.
You can also create matching sets, such as multiple characters for different rooms or occasions. Each character can represent a different animal, monster, or fantasy theme.
For advanced crafters, consider mixing yarn textures. Combine smooth cotton with fuzzy or sparkly yarn for a whimsical effect that adds dimension and tactile interest.
Lastly, personalize with names or messages. Embroider small letters on the character to make it a thoughtful gift or memorable keepsake.
To achieve the best results with your Amigurumi Tissue Box Character – Free Crochet Pattern, follow these expert tips.
Maintain consistent tension throughout your work to ensure even stitches and prevent gaps where stuffing might show.
Measure frequently to ensure the base rectangle fits your tissue box snugly. Adjust the number of rows or stitches if needed for a custom fit.
Use high-quality yarn that doesn’t pill or stretch easily. This ensures durability, especially for characters that will be handled frequently.
Weave in ends securely using a yarn needle, trimming any excess to create a neat, professional finish.
Stuff features lightly to maintain shape without bulging. Overstuffing can distort the design and make sewing elements difficult.
Finally, block pieces if necessary before assembly to achieve a smooth finish. Lightly shaping ears, arms, or other elements gives your character a polished, three-dimensional appearance.
Q1: Can beginners make this tissue box character?
A: Yes! The Amigurumi Tissue Box Character – Free Crochet Pattern is beginner-friendly, especially if you follow the step-by-step instructions carefully.
Q2: What type of yarn works best?
A: Worsted weight cotton or acrylic yarn is ideal. Cotton provides a smooth finish, while acrylic offers a wider color variety.
Q3: Can I wash the amigurumi tissue box character?
A: Yes, hand wash gently with mild detergent and air dry to preserve shape and colors.
Q4: How long does it take to complete this project?
A: Depending on experience, it can take 3–5 hours from start to finish.
Q5: Can I create multiple characters for a set?
A: Absolutely! Making multiple designs allows for seasonal or themed collections and adds a fun, creative challenge.
Q6: How do I ensure the tissue box fits properly?
A: Measure your tissue box before starting and adjust the rectangle’s width and height accordingly.
The Amigurumi Tissue Box Character – Free Crochet Pattern is a delightful way to combine functionality with creativity. You’ve learned how to gather materials, follow step-by-step instructions, and personalize your character with colors, facial expressions, and accessories. This project is perfect for beginners and advanced crocheters alike, offering a fun, customizable, and eco-friendly way to enhance any space.
Now that you have the tools and knowledge to create your own amigurumi tissue box character, start crafting today! Experiment with designs, colors, and details to make each character unique.
Share your honest feedback and suggestions — your experience can inspire other crochet enthusiasts to bring their own adorable tissue box characters to life.


