
Crocheted house-shaped cookie for Christmas tree

If you’re a fan of adorable handmade crafts and tiny dog-themed accessories, the crochet dachshund keychain is a must-try project. Combining the charm of the beloved sausage dog with the creativity of crochet, this miniature keychain is both cute and functional.
Whether you want to create a personalized gift for a dog lover or a small product to sell at craft fairs, a crochet dachshund keychain offers endless opportunities for fun and expression.
This detailed guide will walk you through everything you need to know — from materials and basic stitches to customization tips and free-form design ideas.
You’ll also learn how to make your dachshund keychain sturdy, neat, and ready to attach to bags, keys, or even backpacks. With some yarn, a crochet hook, and a bit of patience, you can bring your tiny dachshund to life in no time.
Before diving into the techniques, it’s important to understand why crochet dachshund keychains have become so popular among crafters worldwide. Their small size makes them ideal for beginners, while their recognizable shape allows for creative variations in color and style. Plus, they’re perfect for using up leftover yarn and make wonderful handmade gifts that bring smiles to anyone who receives them.
The crochet dachshund keychain is a miniature version of the famous long-bodied dog, affectionately known as the “wiener dog.” It captures the breed’s signature elongated shape, short legs, and expressive face in yarn form. Depending on the pattern you follow, your dachshund may be realistic, cartoonish, or stylized, but the charm remains the same.
To start, you’ll need a few basic supplies: yarn, a crochet hook, stuffing (fiberfill or cotton), safety eyes or beads, and a keychain ring. Many crocheters prefer using cotton yarn for keychains because it’s durable and holds shape well. Acrylic yarns also work beautifully, especially for beginners looking for a more forgiving material.
When crocheting mini amigurumi-style projects like this, choosing the correct hook size is crucial. A smaller hook (such as 2.0mm or 2.5mm) ensures tight stitches that prevent stuffing from poking through. The tighter the stitch, the cleaner and sturdier your crochet dachshund keychain will appear.
Another key detail is the assembly process. Once all parts are crocheted — typically the head, body, legs, ears, and tail — they must be sewn together carefully. Small pieces can be tricky to handle, so working with a tapestry needle and using long yarn tails for sewing is recommended. Proper assembly gives your dachshund its character and structure.
Finally, the finishing touches make all the difference. Adding embroidered facial expressions, a tiny collar, or a miniature bow instantly personalizes your crochet dachshund keychain. You can also experiment with colors — brown for a traditional look, or pastels for a fun, whimsical version.
Creating a crochet dachshund keychain doesn’t require expensive materials, but having the right tools ensures a smooth crafting experience. Here’s what you’ll typically need:
Always start by organizing your workspace. Working in a well-lit, clutter-free area helps prevent losing small components like safety eyes or yarn scraps. It also makes the stitching process more enjoyable.
Selecting the right yarn color can change the entire personality of your crochet dachshund keychain. If you want a realistic look, stick to natural hues such as chocolate brown, black, or reddish tan. For a kawaii or cartoon style, bright colors like teal, lavender, or mint green add a fun touch. Mixing different shades for the body, ears, and snout creates extra visual interest.
Using high-quality yarn and tight tension ensures your mini dachshund won’t lose shape over time. Because keychains are handled often, durability is key. Cotton yarn, in particular, resists pilling and fraying, making it a perfect choice.
Lastly, consider using a fabric stiffener or light starch spray to give the finished keychain extra firmness. This small step can make your crochet dachshund keychain look neat and professional, especially if you plan to sell or gift it.
Before starting your crochet dachshund keychain, review your pattern or sketch your design idea. Many crafters begin with a simple tube for the body and add small parts like ears, legs, and tail later. Each section can be crocheted separately in rounds using the amigurumi technique — a continuous spiral that eliminates seams.
Here are some helpful tips for each part:
1. Body and Head:
Work in the round, increasing gradually to form the dachshund’s elongated body. The head can be crocheted as part of the body or separately. If made separately, sew it securely to ensure it stays upright when attached to the keyring.
2. Ears:
Long floppy ears are the dachshund’s signature feature. Crochet two small ovals or teardrop shapes and attach them symmetrically. Adjust their length to match the style you want — shorter for a playful look, longer for a classic hound.
3. Legs and Tail:
Crochet four short legs, stuffing them lightly. The tail should be thin and slightly curved. For extra stability, you can insert a short piece of pipe cleaner before closing the tail.
4. Assembly:
Use a tapestry needle to sew all parts together with precision. Small stitches help prevent visible seams. Take your time aligning ears and legs properly — even a small difference in placement can change your dachshund’s expression and stance.
5. Finishing Touches:
Add safety eyes, embroider the nose and mouth, and stitch on a tiny collar or bow. You can even crochet a micro-sized bone or heart charm to hang beside your crochet dachshund keychain for added flair.
6. Attaching the Keychain Ring:
Finally, sew or glue a metal loop to the top of the dachshund’s head or back. Slip the ring or clasp through securely. For durability, double-stitch the loop area to prevent it from loosening over time.
Taking photos of your finished project helps track progress and share your work with the crafting community. Posting your crochet dachshund keychain online can also inspire others to try the same project.
One of the best things about crocheting your own dachshund keychain is the creative freedom. You can modify size, color, and style to match your personality or that of the gift recipient.
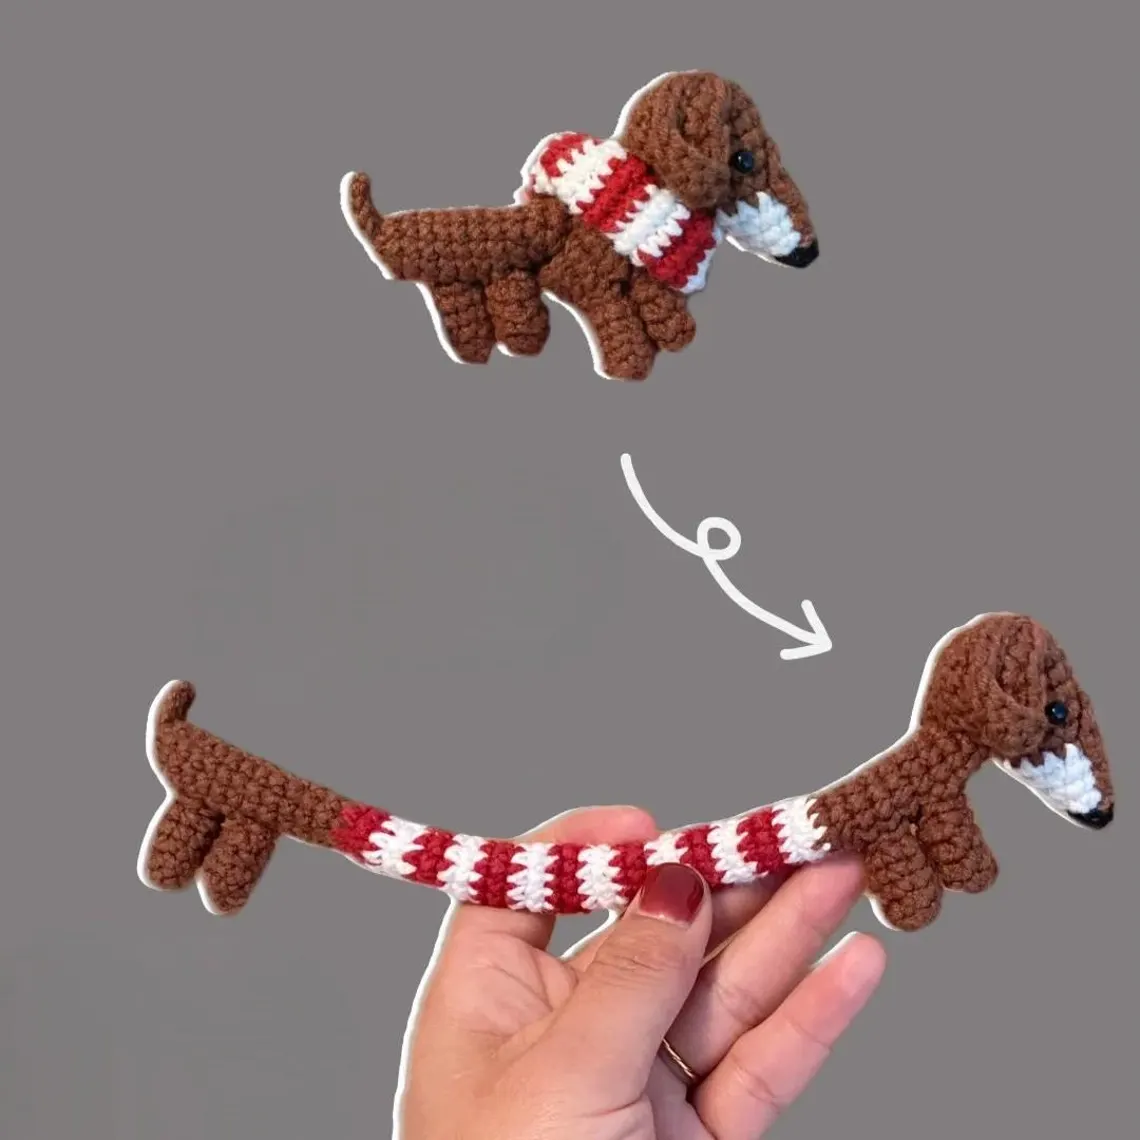
Try making themed versions — for example, a holiday dachshund keychain with a tiny Santa hat, or a graduation dachshund wearing a crocheted cap. You could even make a rainbow dachshund with multicolored stripes for a cheerful design.
If you love detail, experiment with textures. Combine fluffy yarn for the ears with smooth cotton for the body. Add embroidery, beads, or a little scarf. You can even make a matching crochet dachshund family keychain set featuring different sizes or poses.
Personalization also extends to how you present your finished piece. Mount it on a small cardstock backing with your logo if selling it, or wrap it neatly in tissue paper when gifting. Presentation enhances the perceived value of your handmade crochet dachshund keychain.
If you’re selling online, using high-quality product photos is essential. Capture the texture and details of the crochet stitches under natural lighting. Including size comparisons (like holding the keychain in your hand) helps potential buyers visualize scale.
Lastly, keep experimenting. Once you master the basic pattern, you can transform your dachshund into other breeds simply by adjusting the ears, muzzle, and body proportions. Crochet art is about evolution, and every project teaches you something new.
Q1: How long does it take to make a crochet dachshund keychain?
It depends on your skill level. Beginners may need about 3–4 hours, while experienced crocheters can finish one in under 2 hours.
Q2: What is the best yarn for a dachshund keychain?
Cotton yarn is best for durability and neat stitches. Acrylic yarn is also good for beginners and offers a wide color range.
Q3: Can I wash my crochet keychain?
Yes, but hand-washing with mild soap is recommended. Avoid soaking the metal keyring, and air-dry thoroughly.
Q4: How do I make my keychain sturdy?
Use tight stitches, firm stuffing, and double-sew attachment points like ears and rings. A fabric stiffener can also help maintain shape.
Q5: Can I sell crochet dachshund keychains I make?
Absolutely! Handmade dachshund keychains are popular at craft fairs and online marketplaces. Just ensure your pattern allows for commercial use if it’s not your own design.
Q6: How can I make my keychain look more professional?
Focus on even tension, neat seams, and finishing touches like embroidery or accessories. Proper lighting and presentation also make a big difference when showcasing your work.
The crochet dachshund keychain is a perfect blend of creativity, charm, and practicality. It’s small enough for quick crafting sessions yet detailed enough to keep you engaged. By following the tips in this guide — from material selection to finishing touches — you’ll create a durable and adorable accessory that reflects your love for crochet and dachshunds alike.
Whether you make it as a personal keepsake, a thoughtful gift, or a product to sell, the joy of crafting this miniature pup is undeniable. We hope this complete guide has inspired you to grab your hook and start stitching.
If you’ve tried making a crochet dachshund keychain, share your honest thoughts, experiences, and suggestions — your feedback helps fellow crafters and keeps the creative spirit alive!


