
Crocheted house-shaped cookie for Christmas tree

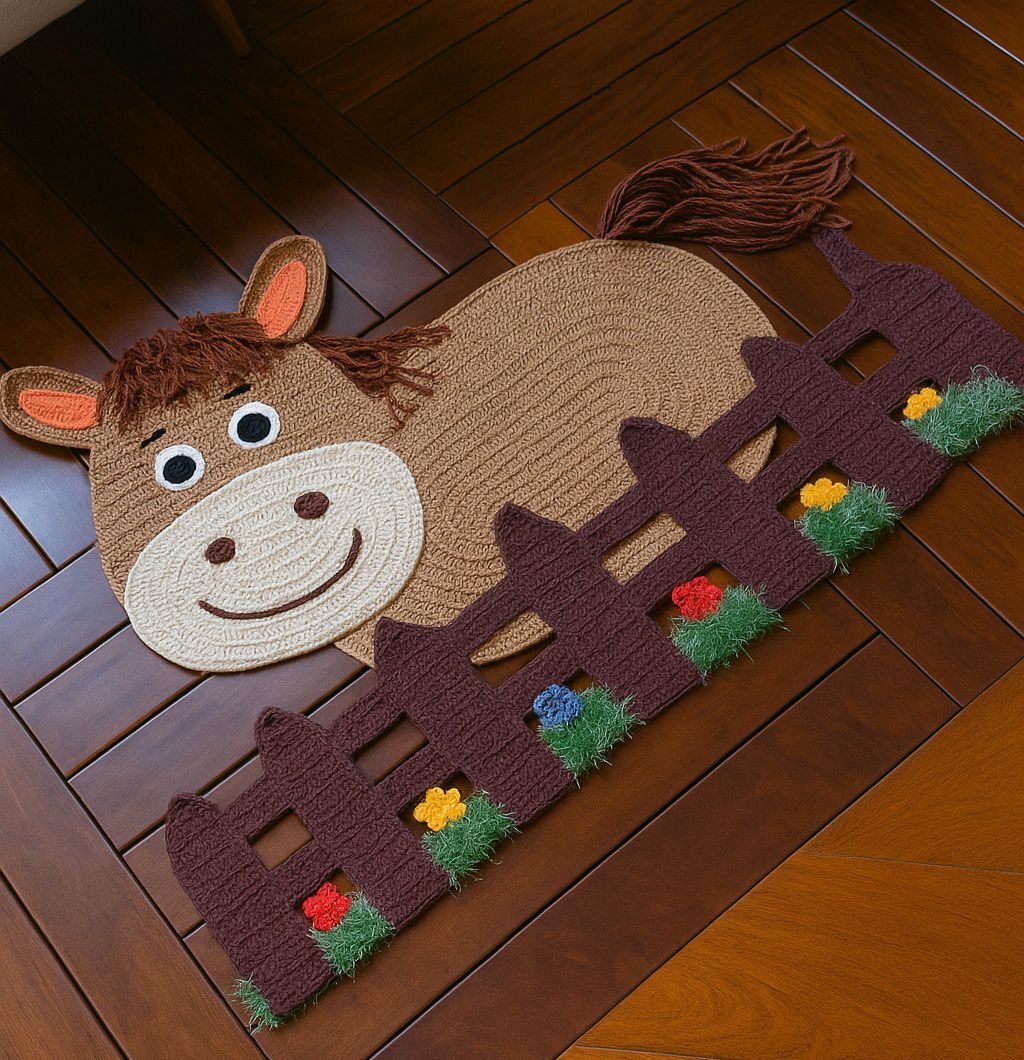
If you are a crochet enthusiast looking for a unique project, the Horse Rug – Free Pattern is an ideal choice. Crocheting a horse rug allows you to combine practicality, creativity, and craftsmanship into one rewarding project.
This pattern is designed for both experienced and intermediate crocheters who want to create a functional and decorative rug that provides warmth and style to your horse.
Using the Horse Rug – Free Pattern, you can craft a custom-fitted rug that fits perfectly, ensuring comfort and protection for your equine friend.
Creating a horse rug is more than just a crafting project; it’s about caring for your animal and providing practical solutions while exploring your crochet skills.
With this pattern, you can choose the colors, stitch textures, and design elements that reflect your personal taste and your horse’s needs. The Horse Rug – Free Pattern also allows you to explore advanced crochet techniques like shaping, joining, and decorative edging, which elevate your skills and expand your creative repertoire.
A crochet horse rug is not only practical but also aesthetically pleasing. By following the Horse Rug – Free Pattern, you can design a rug that is both durable and stylish. Crocheted rugs offer flexibility in size and materials, making them suitable for different seasons or climates. Whether you want a lightweight summer rug or a thicker winter version, this free pattern provides guidance to create a versatile and personalized item.
The first step in completing the Horse Rug – Free Pattern is selecting the appropriate yarn and materials. Since the rug will be worn by a horse, durability, comfort, and weather resistance are crucial considerations. Wool or acrylic blends are popular choices for warmth and resilience, while cotton or bamboo blends offer lightweight alternatives suitable for warmer weather.
Color selection plays a dual role: aesthetic appeal and practicality. Darker shades may hide dirt better, while lighter colors can showcase decorative stitch patterns more effectively. You can also combine multiple colors to create stripes, gradients, or custom designs, giving your horse rug a unique look.
Other essential materials include a large crochet hook suitable for your yarn, measuring tape for accurate sizing, scissors, stitch markers, and a tapestry needle for finishing. Having all materials prepared before starting ensures a smooth and enjoyable crocheting experience.
When choosing yarn, consider how it will behave in different weather conditions. Some yarns may shrink or stretch after washing, so pre-washing and blocking your swatches is recommended. Proper preparation guarantees that the Horse Rug – Free Pattern fits your horse comfortably and maintains its shape over time.
Finally, assess your horse’s measurements carefully. Accurate measurements of the neck, back, chest, and length will help you create a rug that fits well. A properly sized horse rug not only looks better but also provides maximum protection and comfort for your equine companion.
The base of the Horse Rug – Free Pattern is the foundation for the entire project. Begin by crocheting a large rectangular or trapezoidal piece, depending on the horse’s shape and measurements. Ensuring that the base is even and sturdy is essential, as it supports all additional elements like straps, edging, and decorative patterns.
Start with a chain that matches the desired length of your horse’s back. Work in rows using a simple stitch like single or double crochet for durability. Periodically check the width to ensure it aligns with your horse’s measurements. Adjust as needed by adding or subtracting stitches.
Shaping is an important aspect of the Horse Rug – Free Pattern. Use increases and decreases strategically to create contours for the neck, chest, and shoulders. Proper shaping allows the rug to fit snugly without restricting movement. This step may require careful counting and frequent measurement checks.
Reinforcing high-stress areas is critical. Points where straps will attach or edges that may encounter friction should have additional rows or a tighter stitch pattern. This ensures longevity and prevents wear and tear from daily use.
Once the base is completed, block it if necessary to maintain shape and consistency. Blocking helps even out stitches, especially if you are using natural fibers like wool. A stable base simplifies the attachment of straps, edging, and decorative details later.
Finally, check the overall fit by laying the base on your horse or a similarly sized surface. Adjustments at this stage are easier than after completing the entire rug, making this a crucial step in achieving a polished and functional final product.
Straps and fastenings are essential components of the Horse Rug – Free Pattern, ensuring the rug stays securely in place. Start by crocheting straps for the chest, belly, and neck areas. Measure carefully to provide a snug yet comfortable fit, allowing freedom of movement while preventing slipping.
Common fastenings include buckles, Velcro, or buttons. Integrate them securely into your crochet work, reinforcing attachment points with extra stitches or a small backing piece. This guarantees durability and ensures that the rug can withstand the horse’s movement and activity.
For added strength, consider using a combination of crochet and sewn fabric for the strap ends. This hybrid approach increases longevity while keeping the overall rug lightweight and flexible.
Decorative stitching along straps can also add visual appeal. While functionality is the primary focus, small embellishments or color contrasts enhance the Horse Rug – Free Pattern, making your rug both practical and stylish.
Positioning straps correctly is vital. Straps that are too tight may restrict movement, while loose straps may cause the rug to shift or slip. Use your horse’s measurements to guide placement, and test fit frequently during construction.
Finally, finish all strap ends neatly. Weave in yarn tails and secure knots to prevent unraveling. Properly finished straps contribute to the overall durability and aesthetic quality of your horse rug.
Adding a decorative edging completes the Horse Rug – Free Pattern and enhances both style and durability. Options include scalloped edges, shell stitches, or simple borders that reinforce the rug’s shape. Edging not only improves aesthetics but also prevents fraying and stretching at the edges.
Consider adding additional embellishments such as contrast-colored stripes, patterns, or appliqué shapes. These details can personalize your horse rug, reflecting your creative vision and complementing your horse’s personality or stable décor.
Finishing touches include weaving in all loose ends, trimming excess yarn, and ensuring all straps and fastenings are secure. Checking every seam and stitch ensures the rug is safe, functional, and polished.
Blocking the completed rug may be necessary to smooth out edges and finalize its shape. For natural fibers, blocking also helps achieve uniform stitch tension and a professional appearance.
Finally, test the fit on your horse to ensure comfort and mobility. Adjustments at this stage can make a significant difference in usability. A well-fitted rug will stay in place, providing warmth and protection while showcasing your craftsmanship.
Q1: Is this pattern suitable for beginners?
Yes, with patience and careful measurement, beginners can create a functional and attractive horse rug.
Q2: What yarn is best for a horse rug?
Durable yarns like wool, acrylic, or wool blends are ideal. Cotton can be used for lightweight rugs.
Q3: How do I ensure a proper fit?
Take accurate measurements of the horse’s back, chest, neck, and length. Adjust stitches and shaping as needed.
Q4: Can straps be replaced with fastenings like buckles?
Yes, buckles, Velcro, or buttons can be integrated securely into the crochet work.
Q5: How do I maintain the rug?
Hand wash or machine wash on gentle cycles depending on yarn type. Air dry to maintain shape and durability.
Q6: Can I add decorative elements?
Absolutely! Stripes, contrasting edges, and appliqués can personalize the rug while enhancing style.
Creating a Horse Rug – Free Pattern is a rewarding and practical crochet project. From selecting yarn and measuring your horse to crocheting the base, adding straps, and finishing touches, this pattern provides a complete guide to crafting a durable and stylish rug. The project allows for creativity, personalization, and skill development while producing a functional item for your horse.
We hope this guide inspires you to try the Horse Rug – Free Pattern and explore your creativity. Leave a sincere opinion and suggestions in the comments—your feedback helps improve future patterns and encourages other crocheters to take on similar projects. With patience and care, you can create a horse rug that is both beautiful and functional, showcasing your crochet talents.


