
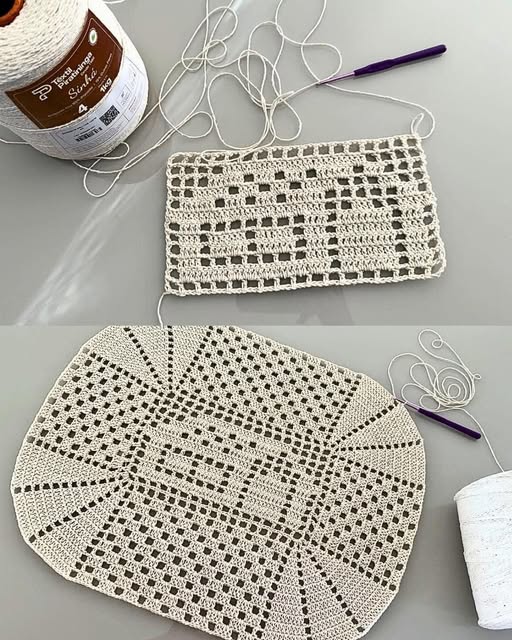
Crocheted house-shaped cookie for Christmas tree

Creating a Crochet House – STEP BY STEP is a fun and rewarding project for anyone interested in crochet and DIY crafts. Whether you are a beginner or an experienced crocheter, following a detailed guide can make the process easier and more enjoyable.
This tutorial will help you understand all the steps necessary to build your very own crochet house, from choosing materials to finishing touches. By the end of this guide, you will have a charming handcrafted piece that you can proudly display or gift to someone special.
Starting a Crochet House – STEP BY STEP project requires patience, attention to detail, and the right materials. You will need yarn in various colors, crochet hooks suitable for your yarn, stuffing, and optional embellishments like buttons or beads.
Selecting the right yarn is crucial, as it affects the overall texture and appearance of your crochet house. Soft, durable yarns work best for beginners, while more experienced crafters may experiment with specialty yarns for unique effects.
The beauty of a Crochet House – STEP BY STEP project is that it allows for creativity and customization. You can choose colors that match your home decor or reflect seasonal themes. Additionally, creating a crochet house can improve your crochet skills, as it often involves various stitches and techniques. By carefully following each step, you will gain confidence in your abilities and produce a delightful piece of handmade art.
The first step in making a Crochet House – STEP BY STEP is selecting the right materials. Yarn is the foundation of your project, and its color, texture, and thickness will influence the final result. Beginners should start with medium-weight yarn, which is easy to handle and provides good structure.
Crochet hooks come in different sizes, and using the right size is crucial for achieving consistent stitches. A hook that is too small can make your stitches tight and difficult to work with, while a hook that is too large can make your crochet house look loose and uneven. Choosing the appropriate hook ensures smooth progress throughout your project.
Stuffing is another essential material, especially if your crochet house is three-dimensional. Polyester fiberfill is commonly used because it is soft, lightweight, and easy to shape. Proper stuffing helps your house maintain its structure and gives it a professional appearance.
You may also want to include embellishments to enhance the charm of your crochet house. Buttons, beads, or small fabric pieces can add details like windows, doors, and flowers. These small touches make your project more personalized and visually appealing.
Before starting, organize all your materials in one workspace. Having everything ready reduces interruptions and allows you to focus on following the STEP BY STEP instructions. Preparation is key to a smooth and enjoyable crochet experience.
Finally, make sure to choose a pattern or design that matches your skill level. Simple designs are perfect for beginners, while more complex patterns provide a challenge for advanced crocheters. Selecting the right design ensures a satisfying and successful project.
Understanding basic crochet stitches is essential for completing a Crochet House – STEP BY STEP. The most commonly used stitches include the chain stitch, single crochet, half double crochet, and double crochet. Mastering these stitches allows you to follow any pattern with confidence.
The chain stitch forms the foundation of most crochet projects. It is simple to learn and helps establish the starting row for your crochet house. Practicing this stitch ensures that your base is even and sturdy.
Single crochet is one of the most basic stitches and is often used for building walls and roofs. It creates a tight, compact fabric, ideal for maintaining the shape of your crochet house.
Half double crochet and double crochet stitches add height and texture to your project. These stitches are useful for decorative elements like windows, doors, and roof patterns. By combining different stitches, you can create a more detailed and attractive house.
It is important to practice tension control. Keeping your stitches consistent ensures that all parts of your crochet house fit together properly. Uneven tension can result in crooked walls or mismatched sections.
Finally, learning how to increase and decrease stitches is essential. These techniques allow you to shape your crochet house, creating angled roofs, rounded windows, and other unique features that make your project stand out.
The core of a Crochet House – STEP BY STEP project is its construction. Begin by creating the base, which forms the floor of your house. Use a sturdy stitch pattern to ensure that the foundation is strong and even.
Next, work on the walls by crocheting rectangular or square pieces according to your pattern. Each wall should match the measurements specified to ensure they fit together properly. Accuracy is crucial during this stage.
After the walls are complete, you can construct the roof. Roofs can be flat, sloped, or peaked, depending on your design. Make sure to crochet the roof panels carefully and align them with the walls for a polished appearance.
Once all structural parts are finished, assemble your crochet house by sewing or crocheting the pieces together. Use matching yarn and secure stitches to prevent gaps or loose seams. This step brings all your efforts together into a cohesive piece.
Adding details comes next. Windows, doors, chimneys, and other embellishments can be attached using simple stitching techniques. These details enhance the charm and realism of your crochet house.
Finally, inspect your work and make any necessary adjustments. Fill gaps with extra stuffing, tighten loose stitches, and ensure that all parts are securely attached. Completing this final step ensures that your Crochet House – STEP BY STEP looks professional and ready for display.
A Crochet House – STEP BY STEP project can be personalized in countless ways. Color selection is the easiest and most impactful customization. Bright colors can create a whimsical look, while neutral tones give a more realistic appearance.
You can also experiment with different textures. Using yarns of various thicknesses or incorporating decorative stitches can make your crochet house more visually interesting. Mixing textures adds depth and character to your project.
Seasonal decorations are another creative idea. Adding small crocheted pumpkins for autumn, snowflakes for winter, or flowers for spring can make your house a charming seasonal display.
Lighting elements can be added safely with small LED lights. These lights can be placed inside the house to create a cozy, inviting glow. Always ensure safety when adding electronic components.
Embellishments such as beads, buttons, or ribbons provide additional charm. These small details make your crochet house unique and personalized, reflecting your creativity and attention to detail.
Finally, consider creating multiple houses in different styles and sizes. A collection of crochet houses can form a miniature village, perfect for display on shelves, tables, or as a gift set for friends and family.
Q1: What materials do I need for a Crochet House?
A1: You need medium-weight yarn, suitable crochet hooks, stuffing, and optional embellishments like buttons or beads.
Q2: Is this project suitable for beginners?
A2: Yes, beginners can start with simple patterns, while advanced crafters can try more complex designs.
Q3: How long does it take to make a Crochet House?
A3: Depending on complexity and skill level, it can take anywhere from a few hours to several days.
Q4: Can I wash my Crochet House?
A4: Most handmade crochet houses can be spot-cleaned. Avoid soaking to preserve shape and structure.
Q5: How do I assemble the pieces?
A5: Use matching yarn and secure stitches, sewing or crocheting pieces together carefully to avoid gaps.
Q6: Can I customize my Crochet House?
A6: Absolutely! You can change colors, textures, add seasonal decorations, lights, or embellishments to personalize it.
Creating a Crochet House – STEP BY STEP is a fulfilling and creative project that combines patience, skill, and imagination. From selecting materials and mastering basic stitches to constructing and customizing your house, every step contributes to a beautiful final piece. By following the guide, you can confidently complete your crochet house, learning valuable techniques along the way.
We encourage you to share your results, leave your honest opinions, and provide suggestions for future projects. Your feedback helps the crafting community grow and inspires others to explore the wonderful world of crochet.


