
Crocheted house-shaped cookie for Christmas tree

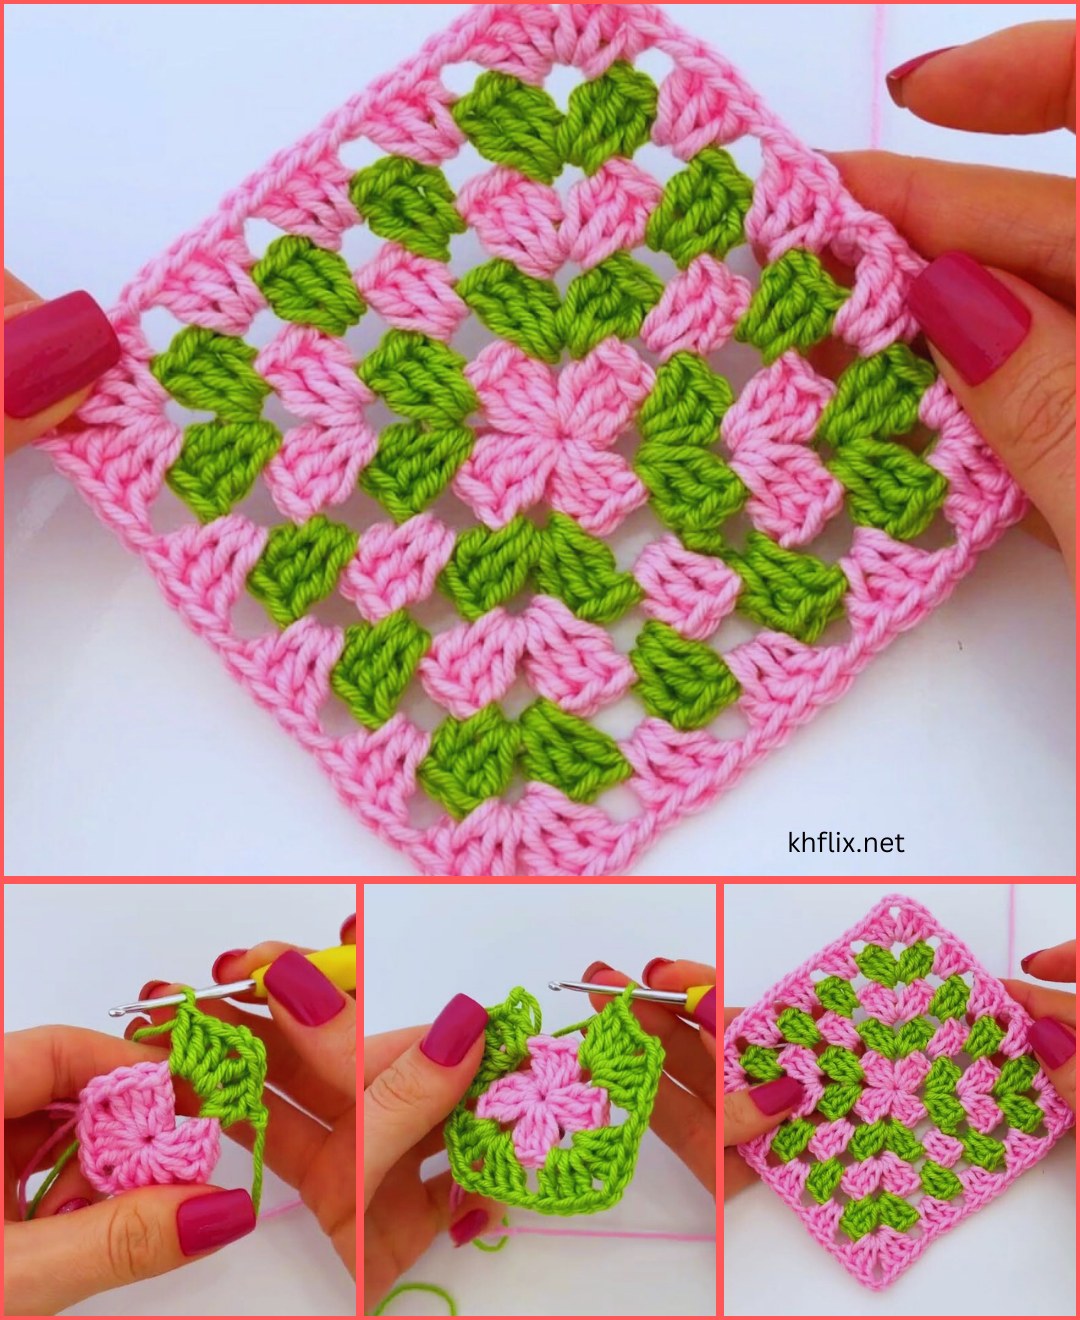
Creating a beautiful simple crochet square can be a delightful and rewarding experience, especially for beginners. How to make a beautiful simple crochet square – step-by-step is a common question among crafters who want to develop their skills while creating something practical and visually appealing.
Whether you are planning to make a blanket, a scarf, or even decorative coasters, learning the basics of a crochet square is essential. In this guide, we will walk you through the process in a clear, step-by-step crochet tutorial, ensuring that even those new to crocheting can follow along confidently.
When you start learning how to crochet, one of the most versatile projects you can tackle is a simple crochet square. These squares are not only easy to customize but also form the foundation for many larger projects.
By understanding the fundamental stitches, proper tension, and how to read a crochet pattern, you can create squares that are uniform, neat, and aesthetically pleasing. The beauty of a crochet square lies in its simplicity, yet with a few creative touches, it can become a statement piece in any project.
One of the best aspects of making a beautiful simple crochet square is its accessibility. You don’t need a lot of materials—just a crochet hook, yarn, and a little patience. By following this step-by-step crochet tutorial, you will gain confidence in your abilities and a strong understanding of stitch repetition and pattern building. Over time, these squares can be combined to create blankets, pillow covers, or even wall hangings. Learning how to crochet a square is a valuable skill that every crafter should have in their toolkit.
Before diving into the actual steps, it’s important to understand the basics of a crochet square. A square is typically made using simple stitches like chain stitches, single crochet, double crochet, and slip stitches. Knowing these basic stitches is essential for creating a beautiful simple crochet square. Beginners often make the mistake of skipping foundational practice, which can affect the final shape of the square.
How to crochet requires attention to tension. If your stitches are too tight, your square may warp or pucker; if too loose, it may become floppy. Maintaining even tension ensures that each square you create is uniform in size. It’s a small detail, but one that makes a big difference in the final appearance of your simple crochet project.
Another essential aspect is choosing the right yarn and hook. Medium-weight yarn with a corresponding hook size is ideal for beginners. Using the recommended materials ensures that your step-by-step crochet tutorial works as intended, making it easier to follow along without frustration.
Reading crochet patterns is also a valuable skill. Patterns provide stitch counts, directions, and tips that help guide your work. Familiarizing yourself with abbreviations like “ch” for chain, “sc” for single crochet, and “dc” for double crochet is crucial for following any how to make a beautiful simple crochet square tutorial.
Consistency in stitch size and placement is key. Each corner of your crochet square must have the correct number of stitches to maintain a perfect square shape. This might seem tricky at first, but with practice, it becomes second nature.
Finally, patience is a virtue in crochet. Even with a step-by-step crochet tutorial, it’s normal for beginners to make mistakes. Mistakes are opportunities to learn, and each square you complete will improve your skills and confidence.
Selecting the proper materials is a critical step in making a beautiful simple crochet square. Yarn type, weight, and color all affect the final look and feel of your square. Opt for a medium-weight yarn, which is easy to handle and produces a square that holds its shape.
The crochet hook size should match your yarn. Using a hook that is too large or too small can distort your crochet square. Typically, a 4mm or 5mm hook works well for most medium-weight yarns. Matching your hook to the yarn ensures a balanced and consistent stitch.
Color choice can enhance the beauty of your simple crochet square. Solid colors are great for beginners because they make it easier to see stitches. However, once confident, experimenting with variegated yarn or multiple colors can create visually striking results.
Texture also plays a role. Smooth yarns produce clean, defined stitches, while fluffy or textured yarns may obscure stitch details. For your first few squares, a smooth yarn is recommended to practice how to crochet correctly.
Yarn quality impacts durability. High-quality yarns make your squares last longer and look professional. Investing in better materials may be slightly more expensive but is worthwhile for a polished result in your step-by-step crochet tutorial.
Lastly, having extra yarn on hand prevents interruptions. Running out midway through a square can be frustrating and may result in slight color differences if you have to buy more later. Always prepare enough material for your crochet project.
Now that you have your materials ready, it’s time to start your step-by-step crochet tutorial. Begin with a foundation chain. For a medium-sized square, chain 20 stitches. This creates the base for your first row and establishes the width of your crochet square.
After the foundation chain, make a turning chain to bring your work to the correct height. Typically, a turning chain of 3 is sufficient for a double crochet. This is a crucial step in learning how to crochet evenly.
Work the first row by double crocheting into each chain. Ensure that your stitches are consistent in size to maintain a neat edge. This forms the base of your beautiful simple crochet square.
At the end of the row, chain 3 again and turn your work. Repeat the double crochet across the row, gradually building the height of the square. Consistency is key in this simple crochet project.
When you reach your desired square size, finish with a slip stitch to secure your work. Cut the yarn and weave in the ends neatly. This step ensures that your crochet square looks polished and professional.
Finally, block your square if necessary. Lightly wetting and shaping it to dry flat ensures uniform edges and perfect corners. Blocking enhances the appearance of your step-by-step crochet tutorial results.
Even after completing your first square, small improvements can enhance the outcome. Consistency in tension and stitch size makes your beautiful simple crochet square look uniform and professional.
Practice corner techniques to maintain a perfect square. Adding extra stitches in corners prevents puckering and keeps the shape intact. This is an essential tip in any how to crochet guide.
Experiment with different stitch patterns once comfortable with the basics. You can create texture and visual interest while keeping the simple crochet style.
Joining squares together is another important skill. Mastering how to connect squares neatly allows you to create larger projects like blankets or throws using your step-by-step crochet tutorial skills.
Regularly reviewing your work helps identify mistakes early. Fixing errors promptly ensures that your crochet square remains neat and symmetrical.
Lastly, don’t be afraid to add your personal touch. Color choices, stitch variations, and embellishments can make your beautiful simple crochet square unique and personalized.
Q1: How long does it take to make a crochet square?
The time depends on your skill level. Beginners may take 30–60 minutes, while experienced crocheters can finish in 15–20 minutes.
Q2: What type of yarn is best for crochet squares?
Medium-weight, smooth yarn is ideal for beginners. It is easy to handle and produces defined stitches.
Q3: How do I prevent my square from curling at the edges?
Maintain consistent tension, add extra stitches in corners, and block the square after finishing.
Q4: Can I make crochet squares in different sizes?
Yes, simply adjust the foundation chain and the number of rows to create larger or smaller squares.
Q5: How do I join multiple crochet squares together?
Use slip stitches, single crochet, or whipstitch techniques to neatly connect squares for larger projects.
Q6: Can I use different stitch patterns in my squares?
Absolutely. Once comfortable with basics, you can incorporate textures, shells, or other stitches for variety.
Learning how to make a beautiful simple crochet square – step-by-step is an essential skill for every crafter. From understanding the basics, selecting the right materials, following a step-by-step crochet tutorial, to perfecting your squares, each step contributes to creating neat, uniform, and visually appealing pieces. Squares are versatile, forming the foundation for blankets, scarves, and decorative items, making them a fundamental skill in how to crochet.
We hope this guide has provided clear instructions and helpful tips to make your simple crochet squares more enjoyable to create. Share your experiences, leave a sincere opinion, and offer suggestions to help us improve future tutorials. Happy crocheting!


