
Crocheted house-shaped cookie for Christmas tree

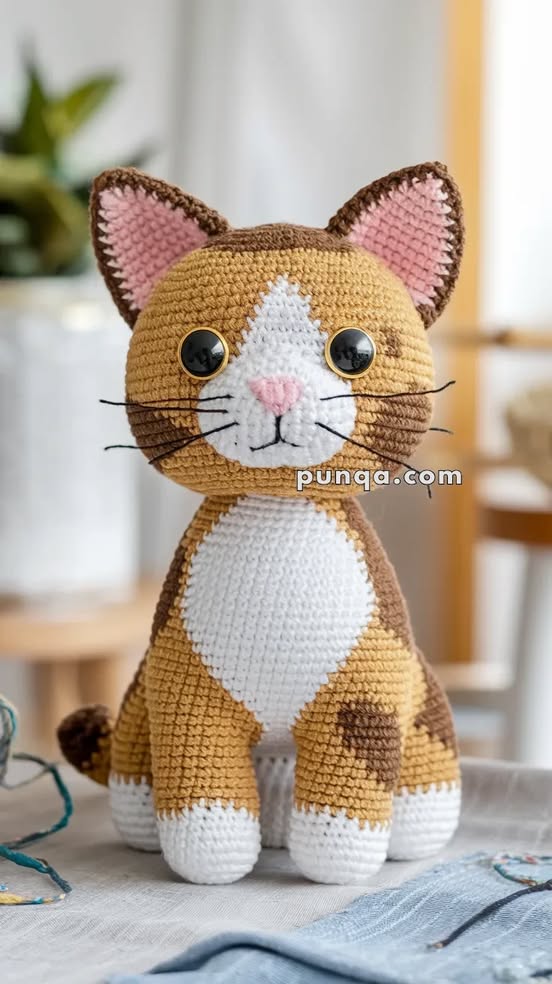
Amigurumi Tom Cat – FREE Crochet Pattern is one of the most adorable and creative crochet projects you can make, especially if you love the nostalgic charm of classic cartoon characters.
This delightful crochet design brings the mischievous yet lovable Tom Cat to life in a soft, cuddly version that’s perfect for kids, collectors, and crochet enthusiasts.
Whether you are a beginner exploring the world of amigurumi or an experienced crocheter looking for your next exciting pattern, this free crochet pattern will inspire you to create something truly special.
Crocheting your own Amigurumi Tom Cat allows you to express both your creativity and your craftsmanship. Each stitch adds character and personality to your handmade toy, making it a one-of-a-kind keepsake.
The joy of crafting a Tom Cat crochet doll lies not only in the process but also in the satisfaction of seeing your favorite cartoon character transformed into a cute, huggable plush. With this pattern, you can enjoy a relaxing crafting experience while producing a result that brings smiles and nostalgia.
This FREE crochet pattern is designed to be simple to follow, yet detailed enough to help you capture all the signature features of Tom — his expressive eyes, perky ears, and playful tail. By following the step-by-step instructions and using the recommended materials, you’ll be able to create a professional-looking amigurumi cat that will impress your friends, family, or even potential buyers if you sell handmade crafts. Before we dive into the details, let’s explore what makes amigurumi and this particular Tom Cat crochet pattern so charming.
One of the most fascinating aspects of Amigurumi Tom Cat is how it combines nostalgia with artistry. Inspired by the legendary cartoon cat loved for generations, this crochet version turns a familiar character into a tangible piece of art. The concept of amigurumi—the Japanese art of crocheting or knitting small, stuffed yarn creatures—adds an extra layer of creativity and warmth to the process. It’s not just about making a toy; it’s about recreating emotions and childhood memories through yarn and a crochet hook.
The Tom Cat design perfectly captures the mischievous personality that fans remember so well. His wide grin, curious eyes, and expressive posture can all be achieved through clever use of stitches and shaping. Amigurumi artists love the balance between simplicity and detail that this project offers. With a few changes in color, size, or materials, your Amigurumi Tom Cat can be completely unique—perhaps even wearing a little bow, holding a tiny accessory, or paired with a matching Jerry mouse doll.
Another reason this project stands out is that it’s suitable for all skill levels. Beginners can enjoy the FREE crochet pattern because it’s clear and easy to follow, while advanced crocheters can experiment with textures, yarn weights, or custom features. The key to mastering amigurumi lies in consistent tension, neat stitching, and patience. Once you get the hang of it, you’ll realize that crocheting Tom Cat is as enjoyable as watching one of his classic animated chases!
Amigurumi has also become a popular stress-relief hobby. The repetitive motion of crocheting has a calming, almost meditative effect. Working on your Amigurumi Tom Cat project allows you to focus your attention, slow down, and create something meaningful with your hands. This blend of mindfulness and creativity makes the experience even more rewarding.
Finally, the versatility of amigurumi makes it a perfect gift idea. Whether you’re making it for a child, a friend who loves vintage cartoons, or even as home décor, this crochet Tom Cat will certainly be cherished. Handmade items carry emotional value, and this pattern gives you the chance to create something personal, soft, and full of personality.
Before you start crocheting your Amigurumi Tom Cat, make sure you have all the right materials and tools. Using the proper supplies will ensure that your final result looks polished and durable. One of the joys of amigurumi is that it doesn’t require many expensive materials—just a bit of patience and creativity.
Start by selecting a soft acrylic yarn in the classic Tom Cat colors: gray for the body, white for the belly and paws, a touch of pink for the ears and nose, and a bit of yellow and green for the eyes. You can also experiment with cotton yarn if you prefer a firmer, more structured doll. Remember that yarn weight affects the final size of your Tom Cat amigurumi, so lighter yarns will produce smaller results, while chunkier yarns will make a bigger, cuddlier cat.
Next, you’ll need the right crochet hook size—usually between 2.0mm and 3.5mm depending on your yarn. A smaller hook will help create tighter stitches, preventing the stuffing from showing through. You’ll also need polyester fiberfill for stuffing, safety eyes or embroidered eyes for safety (especially if the toy is for children), and a yarn needle for sewing the parts together. Stitch markers are also helpful to keep track of your rounds.
The FREE crochet pattern typically includes a detailed list of abbreviations and instructions for each part of Tom’s body: the head, ears, arms, legs, body, and tail. Most amigurumi patterns use basic stitches such as single crochet (sc), increase (inc), and decrease (dec), making them beginner-friendly. However, don’t be afraid to practice these stitches beforehand if you’re new to crochet.
One important tip when working on your Amigurumi Tom Cat is to stuff the parts gradually and evenly. Overstuffing can distort the shape, while understuffing can make the toy floppy. The goal is to achieve a soft yet firm texture that keeps its shape over time. Always check that your stitches are tight enough to prevent gaps.
Lastly, have your sewing pins ready to position the parts before attaching them permanently. Proper alignment of the ears, eyes, and limbs will make a big difference in giving your Tom Cat a balanced, expressive look. Once you’ve gathered all your materials, you’re ready to start crocheting your adorable Tom Cat companion.
Now that your tools and materials are ready, it’s time to bring your Amigurumi Tom Cat to life. Most crochet patterns begin with the head because it’s the most detailed and expressive part of the character. Start by creating a magic ring and crocheting in rounds to form a sphere. Gradually increase the stitches to shape the head, then decrease toward the bottom to close it. This forms the foundation of Tom’s recognizable face.
Once the head is finished, crochet the ears, which usually involve small triangular pieces. Use pink yarn for the inner part and gray for the outer edges. The combination of colors helps achieve Tom’s classic look. Sew or crochet the ears directly onto the head, adjusting the angle to give him that mischievous, playful expression.
Next, work on the body and limbs. The body is typically an elongated oval shape, crocheted in continuous rounds. The legs and arms are similar in construction but smaller. When attaching these parts, make sure the proportions match Tom’s cartoon style—slightly long limbs and a well-rounded belly. The tail should be flexible but sturdy, so you can add a small pipe cleaner or wire inside if desired (just avoid it for children’s toys for safety reasons).
After assembling all the pieces, attach the eyes, nose, and mouth. You can use felt, safety eyes, or embroidery, depending on your preference. Each method gives your Amigurumi Tom Cat a unique personality. A little blush on the cheeks or embroidered whiskers adds a charming final touch.
When everything is sewn together, check for symmetry and firmness. Adjust the stuffing or positioning if needed. You can also lightly brush the yarn to make it fluffier and give your Tom Cat a softer appearance. Finally, your handmade masterpiece is ready to be displayed or gifted—a true reflection of your effort and passion for crochet art.
One of the best things about this FREE Amigurumi Tom Cat crochet pattern is how customizable it is. You can add your own creative touches to make each piece truly yours. Personalization not only makes the process more enjoyable but also ensures that no two Tom Cats are ever exactly the same.
Try experimenting with different yarn colors. While the traditional Tom Cat is gray and white, you can make him blue, brown, or even rainbow-colored for a playful twist. You can also use multicolored yarn to create a unique texture effect. Don’t be afraid to break from tradition—crochet is all about creativity and self-expression.
Adding accessories is another fun idea. Give your Tom Cat a tiny bow tie, a little hat, or even a miniature fish toy. These small details bring your creation to life and make it even more adorable. You can crochet or sew these accessories using leftover yarn scraps.
For advanced crocheters, try adjusting the pattern size. Use thinner yarn and smaller hooks to make a mini version, or use chunky yarn for a large plush. The versatility of this amigurumi pattern makes it easy to adapt to your desired dimensions.
If you’re creating Tom Cat amigurumi for kids, consider safety first. Avoid small detachable parts and instead embroider the facial features. For collectors or decorative use, you can experiment more with materials, like felt eyes or metallic yarn accents.
Finally, you can pair your Tom Cat with a matching Jerry Mouse or even other cartoon-inspired amigurumi characters. Together, they’ll make a delightful set for display or gifting. The possibilities are endless when creativity meets craftsmanship.
1. Is the Amigurumi Tom Cat pattern suitable for beginners?
Yes, this FREE crochet pattern is beginner-friendly, using basic stitches like single crochet, increase, and decrease. Clear step-by-step instructions make it accessible for all levels.
2. How long does it take to complete the Tom Cat crochet project?
Depending on your skill level and available time, it usually takes between 6 to 10 hours to complete your Amigurumi Tom Cat.
3. Can I sell the finished Tom Cat I make from this pattern?
Yes! As long as you credit the designer if specified, you can sell your handmade Tom Cat amigurumi toys at craft fairs or online.
4. What kind of yarn is best for amigurumi projects?
Soft acrylic or cotton yarn works best. Acrylic is ideal for beginners, while cotton gives a firmer texture to your Tom Cat crochet doll.
5. How can I make my Tom Cat more durable?
Use tight stitches, high-quality yarn, and secure all parts firmly. Avoid loose stuffing and check that all seams are strong before finishing.
Creating your own Amigurumi Tom Cat – FREE Crochet Pattern project is an exciting and rewarding experience that combines skill, patience, and creativity. From selecting the perfect yarn to sewing the final stitch, every moment spent crafting adds love and character to your finished piece. You not only end up with a charming crochet toy but also gain the satisfaction of having made something truly special with your hands.
We’ve explored everything from materials to step-by-step tips and customization ideas. Whether you’re crocheting for yourself, as a gift, or for sale, your Tom Cat amigurumi will bring smiles wherever it goes. Now that you’ve learned how to make your own version of this classic character, why not give it a try?


