
Crocheted house-shaped cookie for Christmas tree

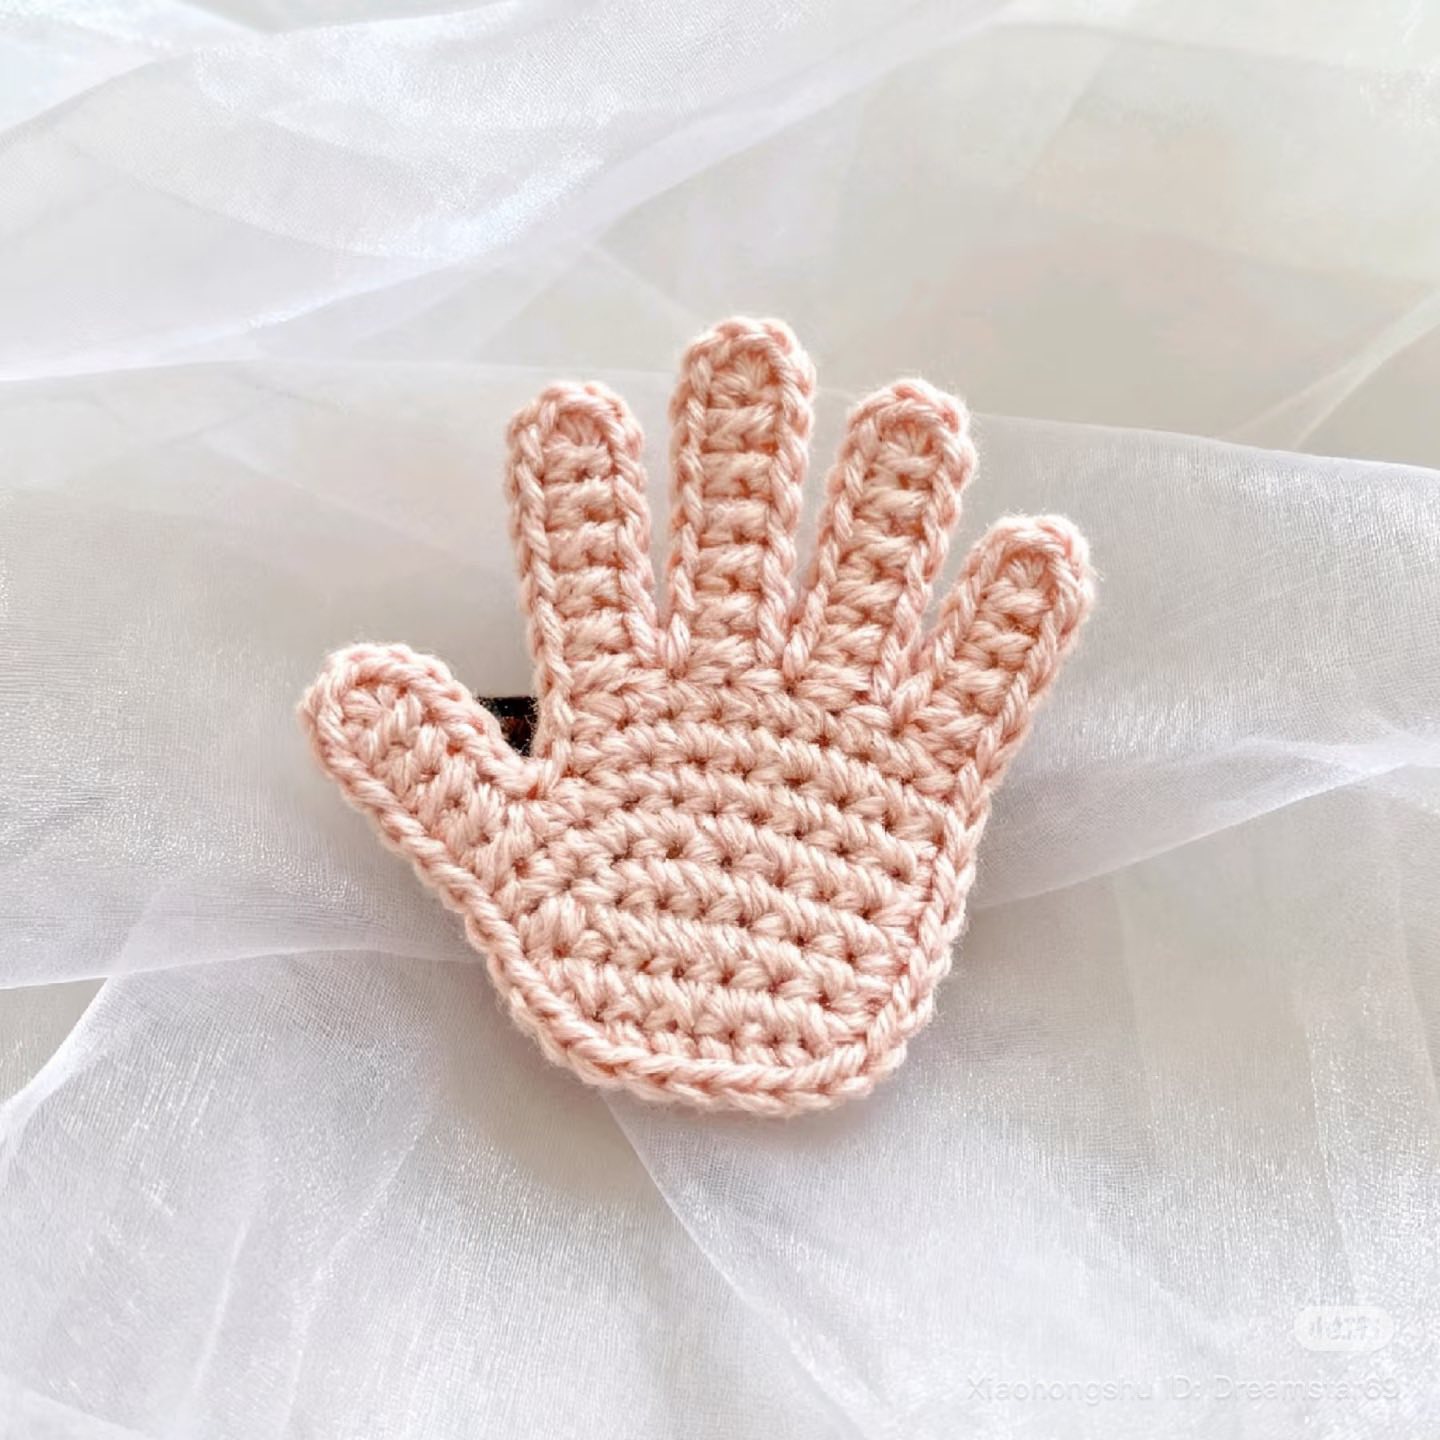
If you are looking for a creative and eye-catching project, this Crochet Hair Clip in the Shape of a Hand is the perfect idea to express your artistic side while crafting something fun and stylish.
This pattern combines practicality with a touch of humor, making it a wonderful handmade accessory that you can wear or gift. Whether you are a crochet enthusiast or just starting out, this free pattern is designed to guide you through each step with ease.
Using just a few basic stitches and minimal materials, you can create a unique hand-shaped hair clip that will grab everyone’s attention.
Crocheting a hair clip in the shape of a hand might sound unusual, but it’s actually a charming and trendy concept that has been gaining popularity.
The small hand shape gives your hairstyle a playful, artistic vibe, and the best part is that it can be customized in different colors and styles. From realistic skin tones to fantasy shades like pink, purple, or even metallic yarn, the possibilities are endless. This project can also be an excellent scrap-yarn creation, allowing you to use leftover threads while making something practical and cute.
Before we dive into the steps, it’s important to note that this Crochet Hair Clip in the Shape of a Hand – Free Pattern is both beginner-friendly and quick to complete. You’ll only need some yarn, a crochet hook, a hair clip base, and a bit of glue or thread to assemble it. In this guide, we’ll cover everything you need to know: materials, stitch explanations, step-by-step instructions, and even ideas for variations. Let’s explore how to crochet this adorable little hand that will make your hair look absolutely one-of-a-kind.
To start your crochet hair clip in the shape of a hand, gather all the necessary materials before you begin. Having everything ready will make your crafting smoother and more enjoyable. You’ll need cotton yarn (preferably DK or sport weight), a crochet hook size 2.5mm to 3mm, scissors, a yarn needle, a metal hair clip base, and some craft glue if you prefer to attach the hand securely. Cotton yarn works best for this project because it gives structure and a clean finish to your mini design.
When choosing colors, think creatively. You can go for realistic shades such as beige, tan, or brown to make it look like an actual hand, or you can have fun with playful tones like pastel pink, mint, or even glittery thread. If you’re making this clip for a special event, such as Halloween or a themed party, metallic yarn or neon colors can make your hand stand out beautifully.
Before you start crocheting, make sure your yarn and hook size match to achieve the desired texture. The stitches should be tight enough to hold the shape but flexible enough to move slightly. A tightly crocheted hand shape will maintain its form when attached to the clip, making it both decorative and durable. Preparing your workspace with good lighting and a comfortable chair will also make the process much more pleasant.
Once your materials are ready, you can begin crocheting the base of the hand. The trick here is to create a small, flat shape that mimics the outline of a human hand. You’ll start with the palm and then crochet each finger individually, keeping proportions in mind. Don’t worry — even though it sounds intricate, the pattern is simple once you understand the basic structure.
Finally, remember that this is a small accessory, so details matter. Using a fine yarn needle to weave in ends neatly will make a big difference in the overall look. The finishing touches, such as adding a tiny nail color with embroidery thread or small beads, can make your crochet hand hair clip truly special and personalized.
To create your crochet hair clip in the shape of a hand, begin with a magic ring and crochet six single crochets (sc) into the ring. Pull tight to close and slip stitch to the first stitch. This forms the base of the palm. For the next round, increase evenly around to make a flat circle with about 12 stitches. Continue working in rounds without increasing for about three rows to create the palm’s height. Make sure it stays flat but slightly raised.
Once the palm is ready, start forming the thumb. Chain three stitches from one side of the palm, then single crochet back along the chain to create the thumb’s base. Slip stitch to the main palm and fasten off. For the fingers, attach yarn to the top edge and crochet short chains (each 4–5 chains long), then work back with single crochets to form each finger. Do this four times, evenly spaced, to create the full hand shape.
After crocheting the fingers, you may lightly shape them with your fingers or a small amount of water and let them dry flat. Blocking helps make the hand look neat and symmetrical. The finished piece should resemble a tiny open hand — perfect for your hand-shaped crochet hair clip.
Next, attach the hand to your clip base. Apply a small amount of hot glue or fabric glue to the metal clip, press the crochet hand firmly on top, and hold it until secure. If you prefer a more durable finish, use a needle and thread to stitch it directly to the clip through the base stitches of the palm. Both methods work well depending on your preference.
Now, you can customize your crochet hand with additional decorations. Try embroidering small hearts, stars, or even nails with a contrasting color. Some crafters even add mini rings made of metallic yarn to give the hand more personality. This is your opportunity to make your crochet hair clip uniquely yours and a reflection of your creativity.
Lastly, test your clip in your hair! It should hold well and stay lightweight. You’ll notice how the little hand gives your hairstyle an artistic and whimsical touch — a great conversation starter and a fun handmade accessory.
The fun part of the Crochet Hair Clip in the Shape of a Hand is how versatile it can be. You can adjust its size and style to suit your taste. For example, if you want a minimalist look, use neutral tones and smaller clips. For something bold, use bright colors and maybe even add embellishments like sequins or embroidery.
Another creative idea is to make a pair of hands — one for each side of your head — or to create a “peace sign” or “heart shape” by positioning two clips together. These make great accessories for photoshoots or themed events. You could even create a mini collection with different hand gestures and gift them to friends.
If you enjoy selling handmade items, these hand-shaped crochet clips can be a fun product for your craft shop or online store. Because they’re small and quick to make, they’re perfect for bulk production while still being customizable. Packaging them on small display cards with creative branding can make them stand out beautifully at craft fairs.
For a more elegant version, try using metallic threads or silk-blend yarns. These give a smooth texture and a refined look. Add tiny pearl beads on the fingers for an extra feminine touch. The contrast between delicate yarn and shiny beads creates a luxurious result that looks stunning in formal hairstyles.
Don’t forget that these hair clips also make excellent gifts. Handmade accessories always carry sentimental value, and when shaped like a hand, they symbolize connection and creativity. Whether for a friend, a family member, or even a teacher, this thoughtful little project will surely bring a smile.
Lastly, if you’re looking for eco-friendly crafting, this project fits perfectly. It uses minimal materials, can be made with leftover yarn, and replaces plastic accessories with a handmade, biodegradable alternative.
If you’re new to crocheting, this Crochet Hair Clip in the Shape of a Hand is a great introduction to shaping and small projects. The key is to practice tension control — keeping stitches even ensures the hand looks neat. If you find your work curling, try going up one hook size or blocking it flat after finishing.
Start by mastering basic stitches like single crochet, chain, and slip stitch before attempting more detailed fingers. You can simplify the design by making a mitten-style hand first, then progressing to separate fingers as your confidence grows. Remember, every crocheter improves with patience and repetition.
When assembling your clip, experiment with positioning. The hand can point upward, sideways, or downward depending on how you want it to look in your hair. You can even make a “grabbing” effect by bending one or two fingers slightly before attaching it. Small variations like these make each piece one-of-a-kind.
If you want extra durability, consider lining the back of the crochet piece with felt before attaching it to the clip. This gives it more structure and prevents stretching over time. Use matching thread to sew around the edges for a clean finish.
For those who love detail, embroidery adds a lot of charm. You can stitch tiny patterns or initials on the palm or fingertips. Some crocheters even add small googly eyes or smiles to create funny “hand friends.” It’s all about letting your imagination play freely.
Lastly, take photos of your finished work! Sharing your crochet hand hair clip on social media can inspire other crafters and help you connect with the crochet community. Include hashtags like #crochethairclip, #handmadeaccessories, and #crochetpattern to reach more like-minded creators.
1. Is this crochet pattern suitable for beginners?
Yes! This project uses only basic stitches like single crochet and chain stitch. It’s small and quick, making it ideal for beginners who want to practice shaping.
2. What type of yarn works best for this hair clip?
Cotton yarn is recommended because it holds its shape well and gives a neat finish. However, acrylic yarn can also be used if you prefer softer results.
3. How long does it take to make one hand-shaped hair clip?
Most crocheters can finish it in about one to two hours, depending on experience level and design complexity.
4. Can I wash my crochet hair clip?
Yes, but hand wash gently and let it air dry. Avoid submerging the clip’s metal parts for too long to prevent rusting.
5. How can I make the fingers look even?
Count your stitches carefully and use stitch markers to maintain symmetry. Blocking your finished piece also helps perfect the shape.
6. Is it possible to make other shapes using the same technique?
Absolutely! You can adapt this pattern to create other designs like hearts, stars, or flowers using the same base concept.
The Crochet Hair Clip in the Shape of a Hand – Free Pattern is a delightful project that combines creativity, practicality, and style. You’ve learned how to crochet the base, shape the fingers, and assemble your clip with confidence. With a few basic materials and a touch of imagination, you can make this charming accessory truly your own. Whether for personal use, gifts, or small business ideas, this hand-shaped clip adds a touch of artistry to everyday fashion.
We hope this guide inspired you to start crocheting your own hand-shaped hair clip today! Don’t forget to share your creations, leave a sincere opinion below, and tell us what type of crochet project you’d love to see next.


